Contents
Prerequisites
To perform the steps demonstrated on this guide, you will need the following components:
- A properly-configured Debian system. For testing, you may consider setting up a Debian VM using VirtualBox.
- If you are already running an older release of Debian, check out this guide on upgrading to Debian 12.
- Access to root or a non-root user with sudo privilege.
OpenSSL on Debian
Developed and maintained by the OpenSSL Project, OpenSSL is a free and open-source, commercial-grade cryptography and SSL/TLS toolkit. The OpenSSL library is widely used by servers, websites, browsers, and more.
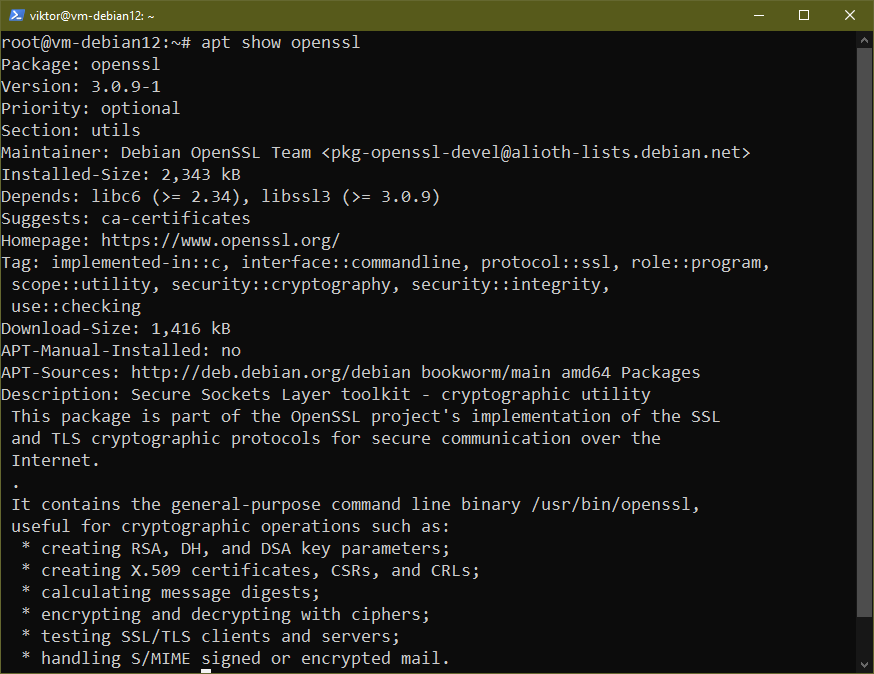
On Debian 12 (codename “Bookworm”), OpenSSL is directly available from the official package repo:
openssl: This package includes the SSL/TLS implementation of the OpenSSL Project along with a command-line binary /usr/bin/openssl that can perform various cryptographic operations.
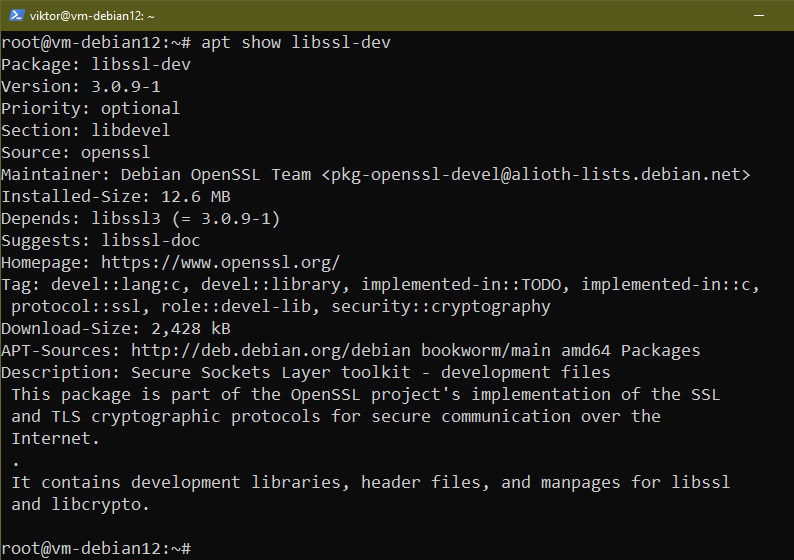
libssl-dev: This package comes with the necessary development libraries, headers, and man pages for libssl and libcrypto. It’s required to compile programs that require OpenSSL libraries.
If you’re in need of the latest version of OpenSSL, then it’s also possible to compile and install OpenSSL from source.
Installing OpenSSL Packages using APT
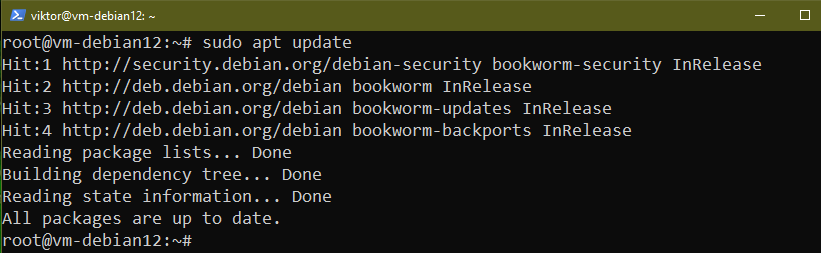
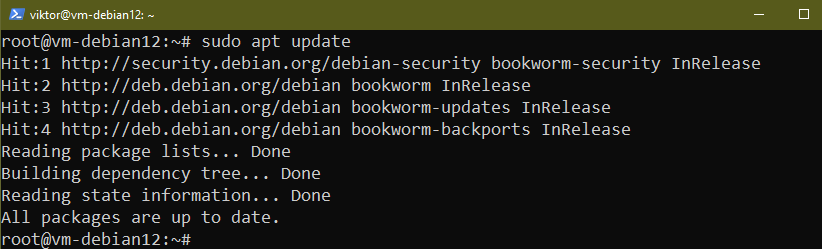
Launch a terminal session and run the following command:
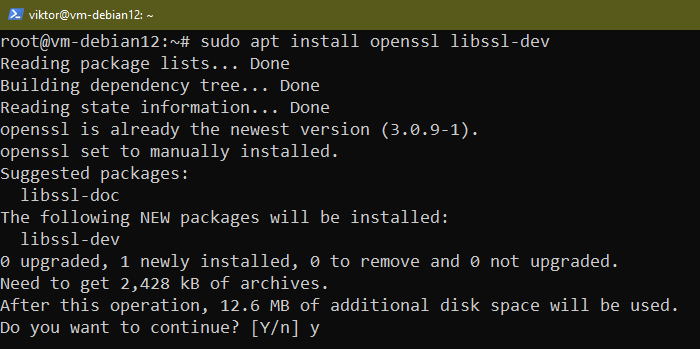
Now, install the necessary OpenSSL packages:
$ sudo apt install openssl libssl-dev
We can verify if the installation was successful:

Installing OpenSSL and Libraries from the Source Code
OpenSSL is a free and open-source software. As the source code is publicly available, we can compile OpenSSL ourselves.
Note that installing from source may cause package conflicts. Because APT won’t recognize the OpenSSL installation, some packages may refuse to install normally. This is why it’s recommended to stick to OpenSSL from Debian whenever possible.
Installing Dependencies
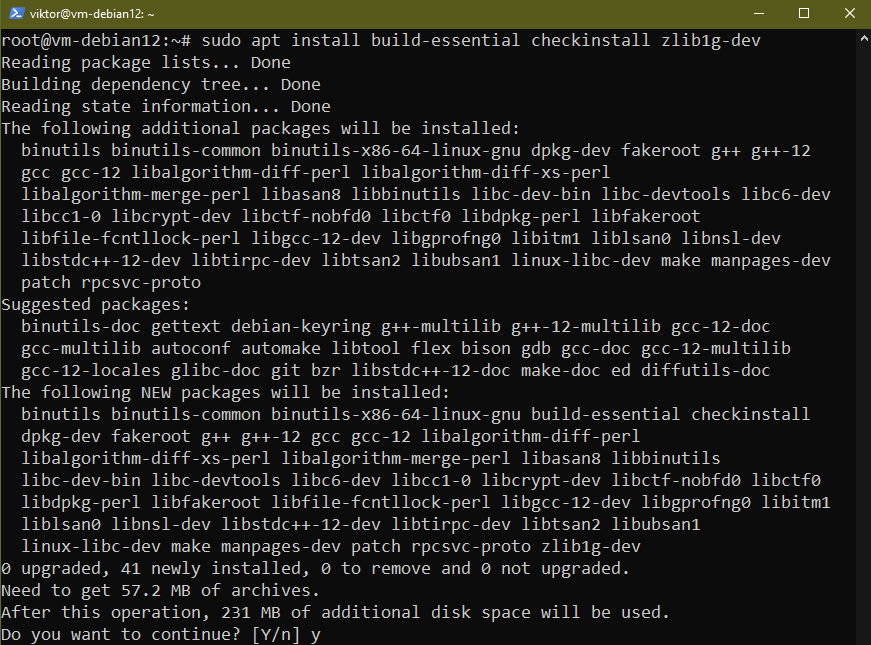
Before we can compile OpenSSL, we need some dependencies first:
$ sudo apt install build-essential checkinstall zlib1g-dev
Downloading the Source Code
At the time of writing, there are multiple OpenSSL releases available:
- OpenSSL v1.1.1: The old LTS release that will be supported until September 11, 2023.
- OpenSSL v3.0: The latest LTS release, which will be supported until September 7, 2026.
- OpenSSL v3.1: The current stable release, with support extended up to March 14, 2025.
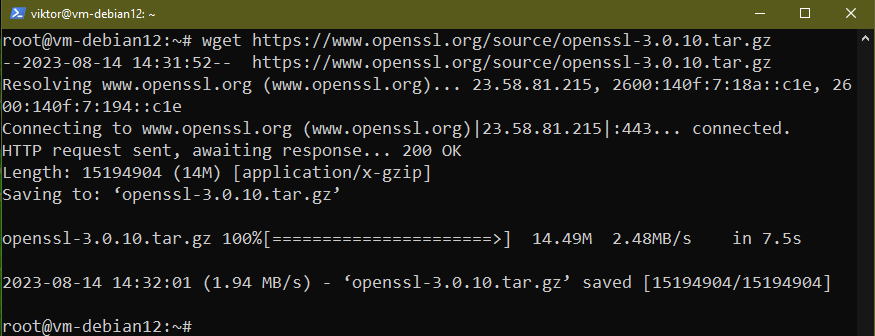
For the purpose of this guide, we will focus on OpenSSL 3 LTS (v3.0.10).
$ wget https://www.openssl.org/source/openssl-3.0.10.tar.gz
Extract the archive:
$ tar -xf openssl-3.0.10.tar.gz

Compiling the Source Code
Change the current directory to the source code:

First, run the configuration script:
$ ./config –prefix=/usr/local/ssl –openssldir=/usr/local/ssl shared zlib

Here are some key options,
- –prefix and –openssldir: These specifies the directory where OpenSSL output files will be stored.
- shared: This forces creation of a shared library.
- zlib: This enables compression using zlib.
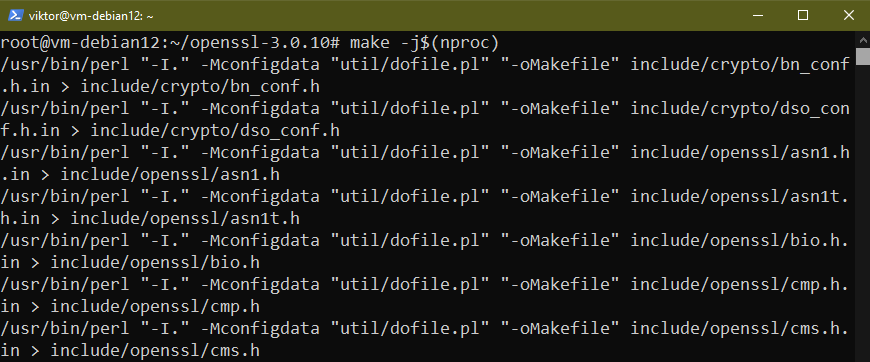
Once the script is generated, start compiling:
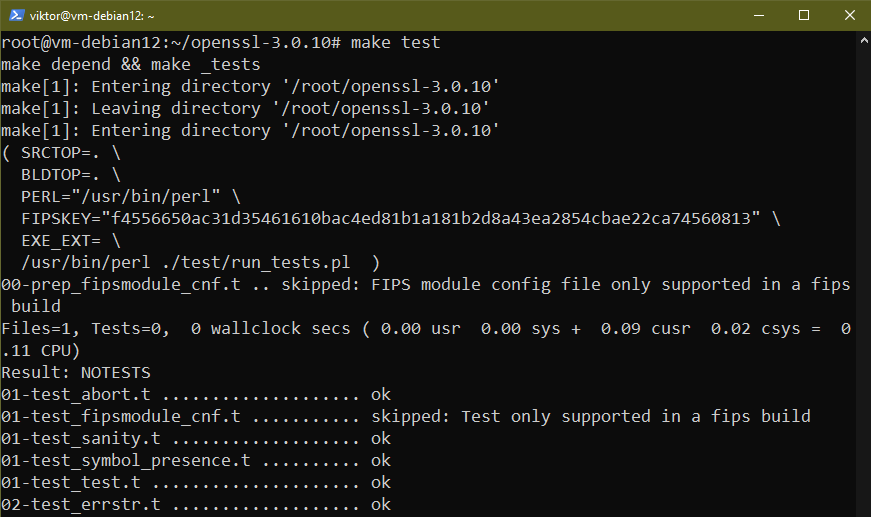
The next command will verify if the generated OpenSSL binaries and libraries function as expected:
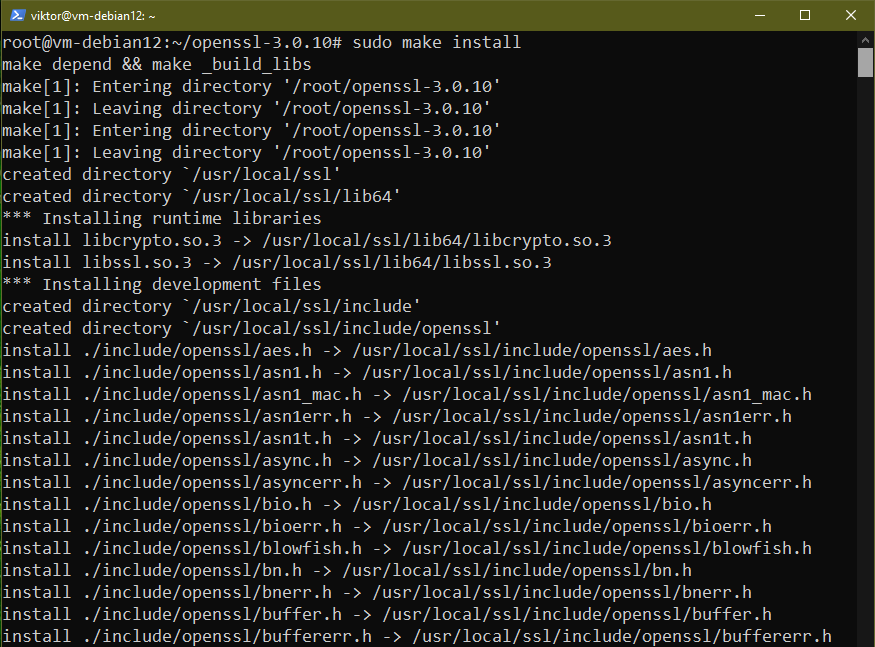
If the test passed successfully, then install OpenSSL:
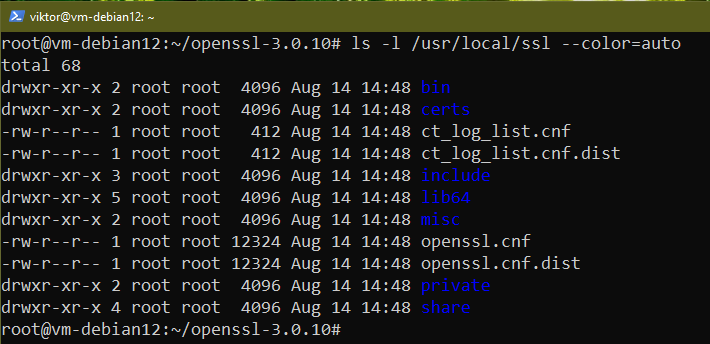
OpenSSL should be installed under /usr/local/ssl:
Configuring OpenSSL Link Libraries
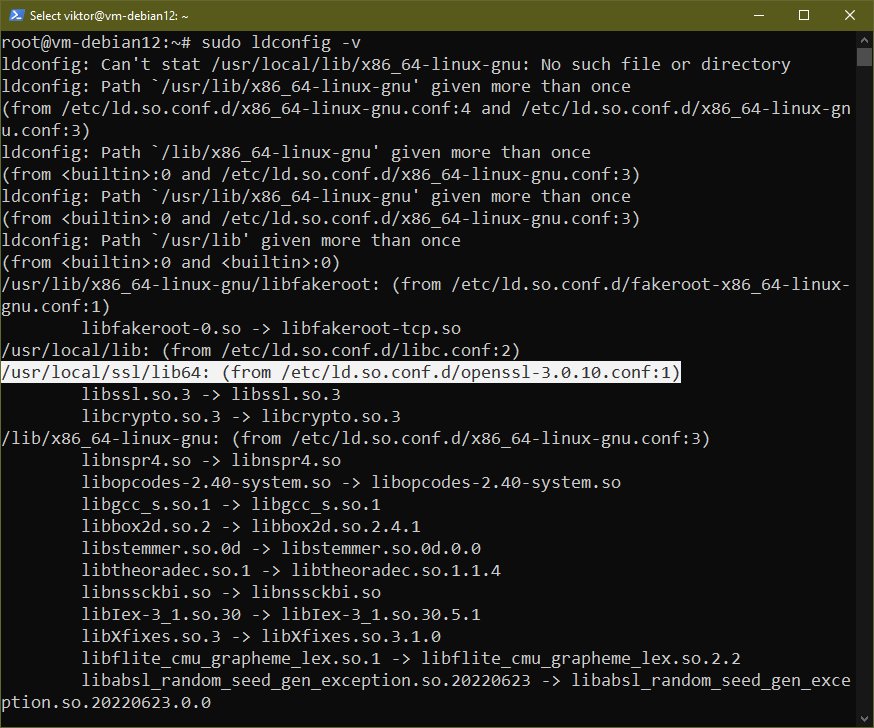
Now, we will configure the shared OpenSSL libraries so that the OpenSSL binary will load them from /usr/local/ssl/lib64.
Under /etc/ld.so.conf.d, create a new configuration file for OpenSSL:
$ nano /etc/ld.so.conf.d/openssl-3.0.10.conf
Within the file, insert the location of the shared libraries:
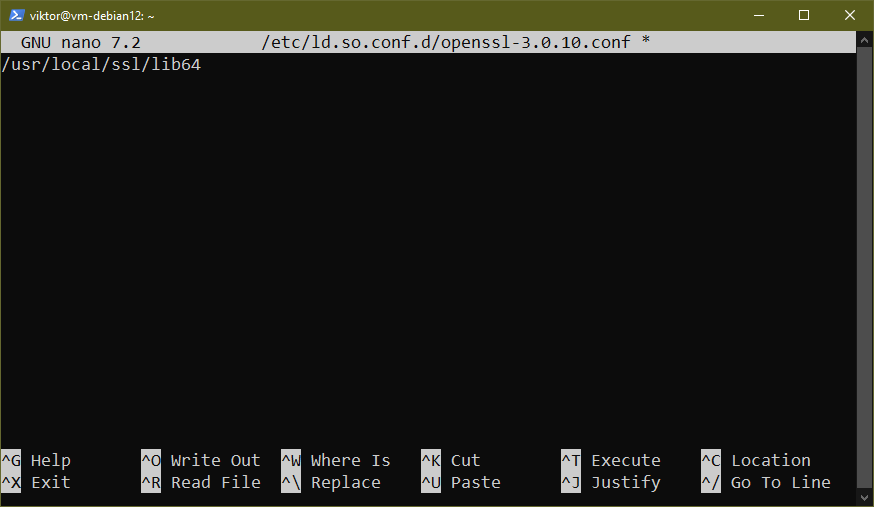
Save the file and close the editor. To take the changes into effect, reload the dynamic link:
Configuring PATH
We need to add the location of OpenSSL binaries to PATH so that any other program can find it.
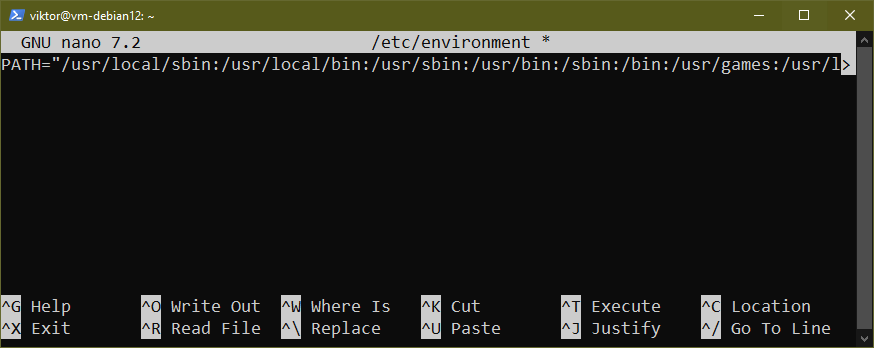
The value of the PATH environment variable is stored in /etc/environment. Open the file in a text editor:
Update the value of PATH as follows:
$ PATH=“/usr/local/sbin:/usr/local/bin:/usr/sbin:/usr/bin:/sbin:/bin:/usr/games:/usr/local/games:
/snap/bin:/usr/local/ssl/bin”
If OpenSSL was pre-installed, you need to run the following commands in Debian to replace the built-in binaries:
$ mv /usr/bin/c_rehash /usr/bin/c_rehash.bak

$ mv /usr/bin/openssl /usr/bin/openssl.bak

Save the file and close the editor. To apply the changes, either restart the shell session or reload the file:
$ source /etc/environment

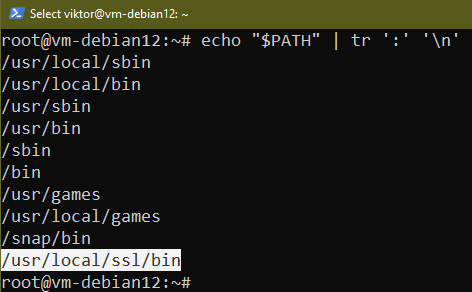
Verify if the change was successful:
$ echo “$PATH“ | tr ‘:’ ‘n’
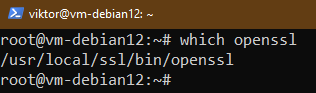
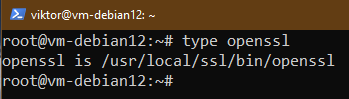
Verifying the Installation
OpenSSL now should be visible to the shell:

Conclusion
We showcased various ways of installing OpenSSL libraries on Debian 12. OpenSSL LTS v3 is directly available from the Debian repo. However, for advanced users, OpenSSL can also be installed from the source code. There are numerous use cases of OpenSSL, for example, generating a self-signed SSL certificate, diagnostics using openssl s_client, etc.