
This guideline will cover the installation process and uses of the dig command with examples.
Contents
How to Install Dig on Ubuntu 22.04
Check the following steps to install the dig utility:
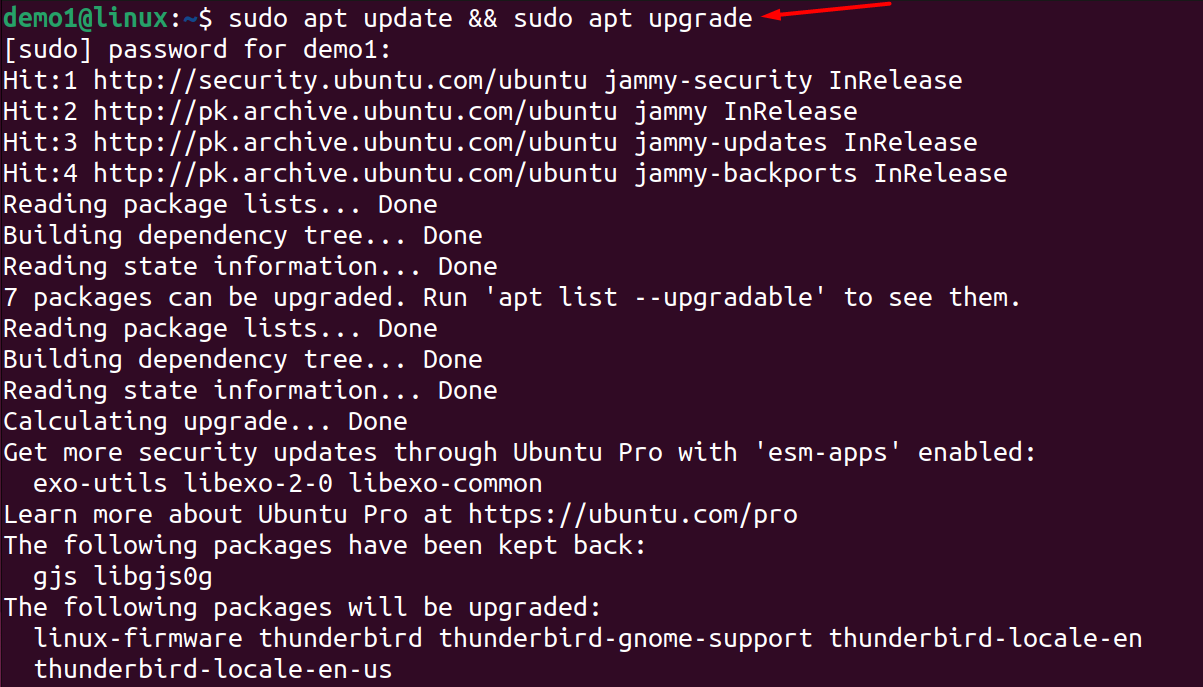
Step 1: Before getting started with the dig command-line tool, refresh all the installed packages on the Ubuntu system by updating them:
sudo apt update && sudo apt upgrade
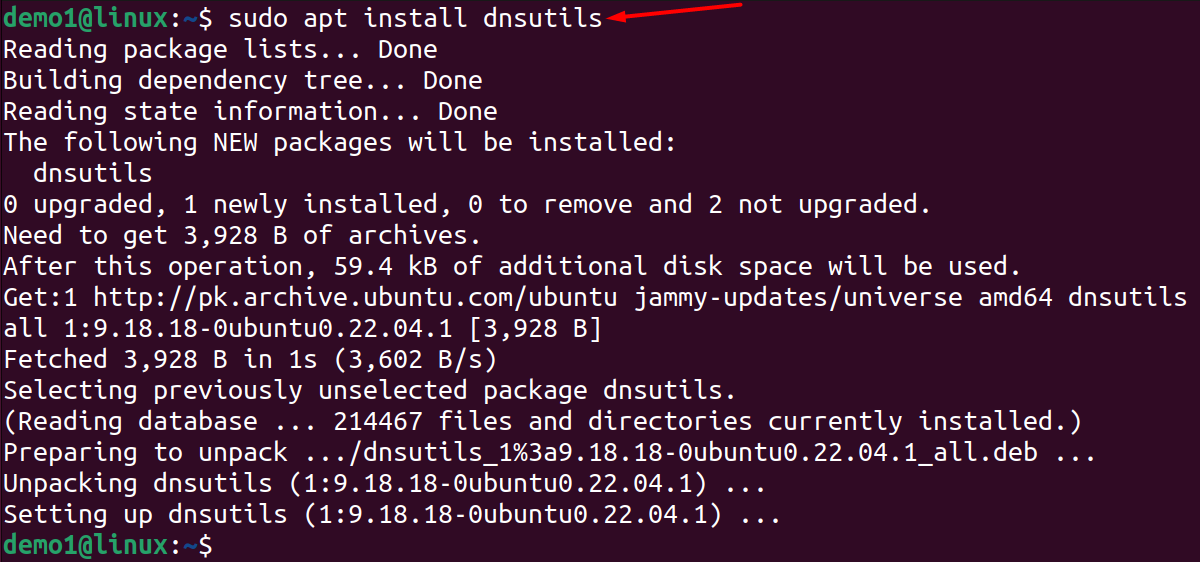
Step 2: Execute the following command to let the dig command-line utility install on Ubuntu or Debian-based systems:
sudo apt install dnsutils
Step 3: After you have done with the installation process, run the version command to confirm if the system has downloaded the updated version of dig:

If you’re running Red Hat Linux / CentOS, the following would be used to get the Dig on your machine:
How to Use Dig Command-line Tool on Ubuntu 22.04
To use the dig command, the following syntax would be followed:
dig [server] [domain_name] [query_type] [options..]
In the above syntax:
[server] > This is used to specify the DNS server if any, otherwise, the default one will be considered.
[domain_name] > The domain name of the server you need to ask about.
[query_type] > Specifies the DNS query type to retrieve. If no type is mentioned then Dig would use querying A record.
[options..] > This section contains multiple options to format and filter Dig queries; some commonly used options are:
| + short |
| +trace |
| +noall +answer |
Let’s run some of the Dig examples to learn its usage.
1. Run the given command to get the IP address of a required domain name:
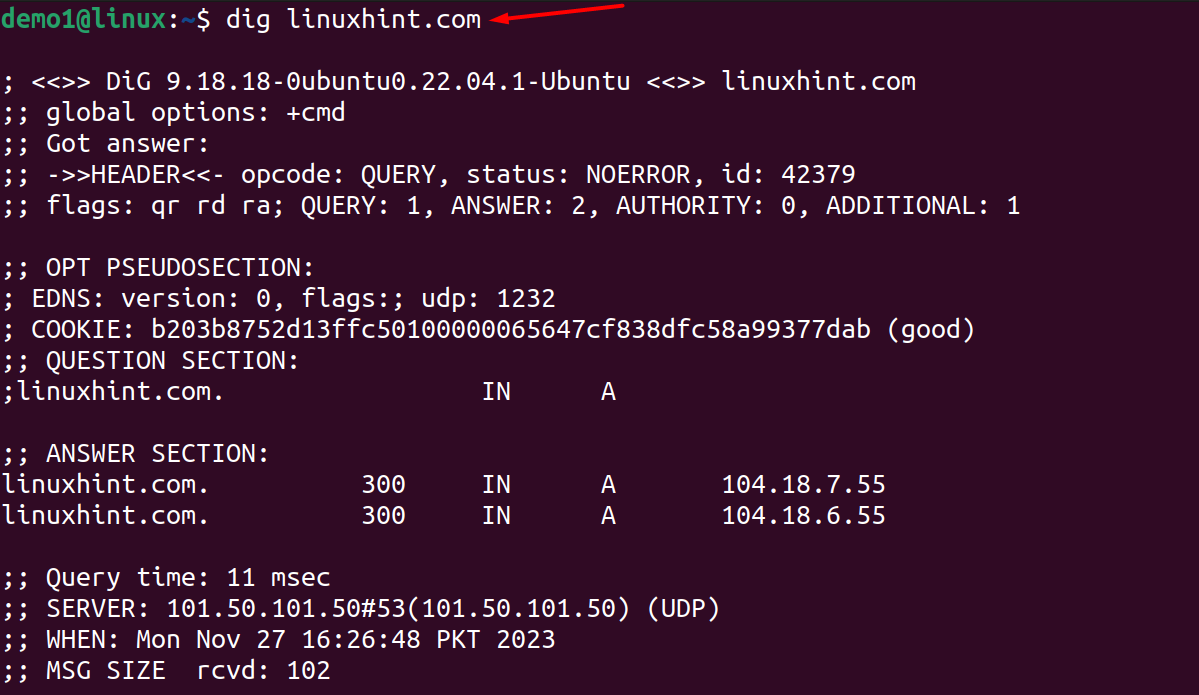
The above command will retrieve all the data of that particular domain (linuxhint.com) including the current dig version, header, port and protocol, and query time.
2. To avoid unnecessary information use the following +short parameter; this will help to restrict the query with the relevant output:

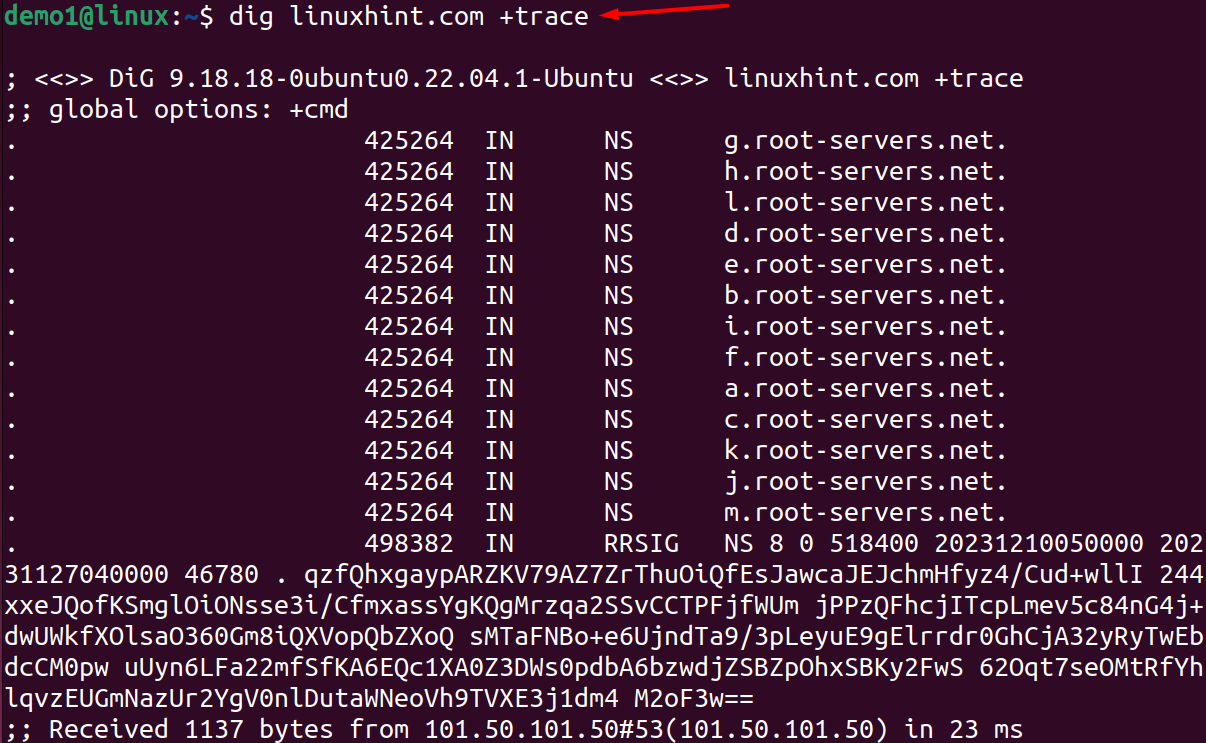
3. Use the +trace option to send a trace request to get a complete route from the root server to the final destination i-e, DNS zone:
4. Execute the following command along with the +noall +answer parameter to remove all display flags:
dig linuxhint.com +noall +answer

Conclusion
Dig is the command-line tool to fetch DNS-related information whenever the user interrogates the request about the DNS server. With the help of this command, system or network administrators can investigate and troubleshoot the networking issues and resolve them. We have learned from this tutorial how to install the dig command tool on Ubuntu 22.04 and also performed some of the examples to let it understand better.