
In this article, we will show you how to configure your Linux distribution to run the AppImage apps. This article should work with the following Linux distributions as well as the other popular Linux distributions:
- Ubuntu 22.04 LTS
- Debian 12
- Linux Mint 21
- SUSE 15
- RHEL 9
- Rocky Linux 9
- Manjaro 22
- Why Install the Appimaged?
- Downloading the Appimaged
- Creating a Directory for AppImage Apps
- Moving Appimaged to the ~/bin Directory
- Making the Appimaged AppImage File Executable
- Running Appimaged
- Downloading the AppImage Apps
- Moving the AppImage Apps to the ~/bin Directory
- Running the AppImage Apps on Linux
- Conclusion
- References
Contents
- 1 Why Install the Appimaged?
- 2 Downloading the Appimaged
- 3 Creating a Directory for AppImage Apps
- 4 Moving Appimaged to the ~/bin Directory
- 5 Making the Appimaged AppImage File Executable
- 6 Running the Appimaged
- 7 Downloading the AppImage Apps
- 8 Moving the AppImage Apps to the ~/bin Directory
- 9 Running the AppImage Apps on Linux
- 10 Conclusion
- 11 References:
Why Install the Appimaged?
The “appimaged” AppImage daemon is used to integrate the AppImage apps into your Linux desktop environment. It automatically searches for AppImage app files in the ~/bin and ~/Downloads directories of your Linux distribution, makes them executable, and adds the app icons for the AppImage apps in the “Application Menu” of your Linux desktop environment.
Downloading the Appimaged
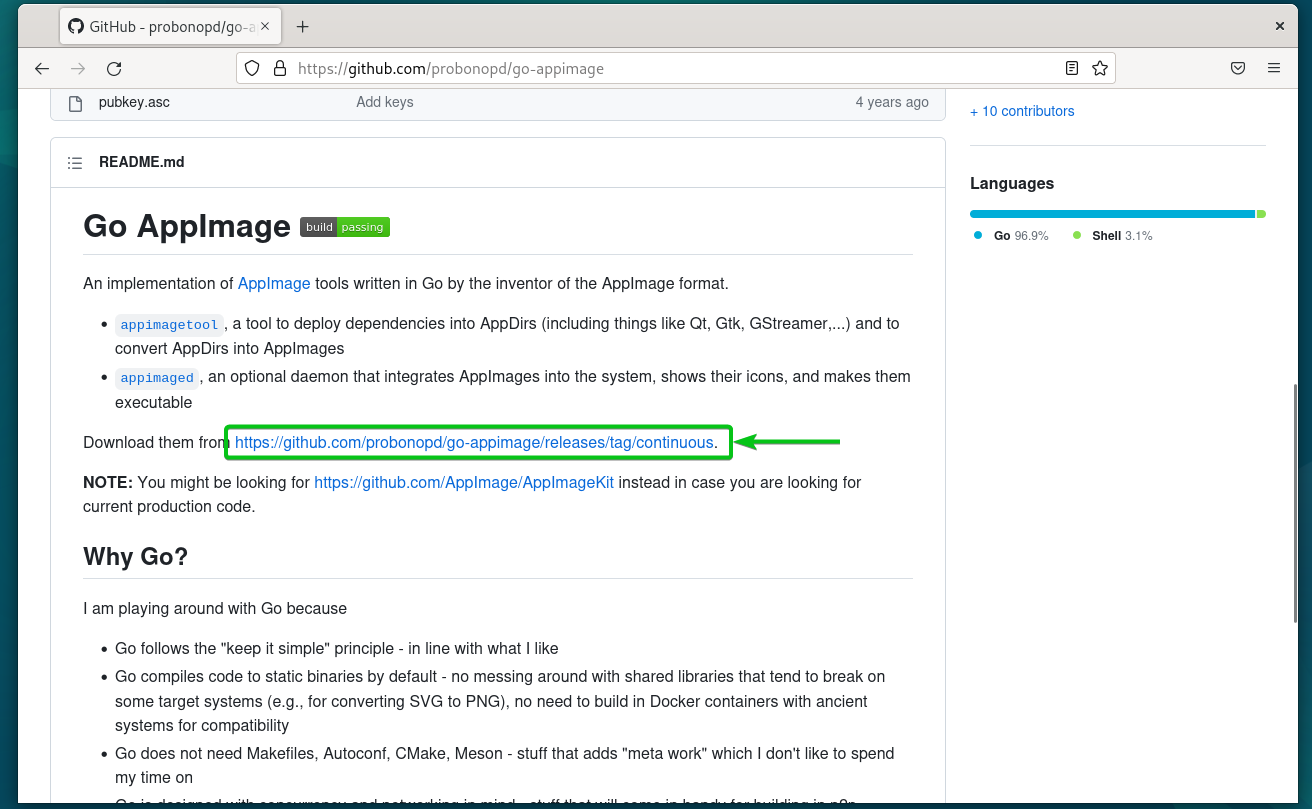
To download the appimaged, visit https://github.com/probonopd/go-appimage from your favorite web browser.
Once the page loads, scroll down a little bit and click on the marked link.
Depending on the architecture of your computer hardware, download the latest version of the appimaged AppImage file from the list. The most common hardware architecture is the “x86_64 – Intel” and the AMD processors that we commonly use.
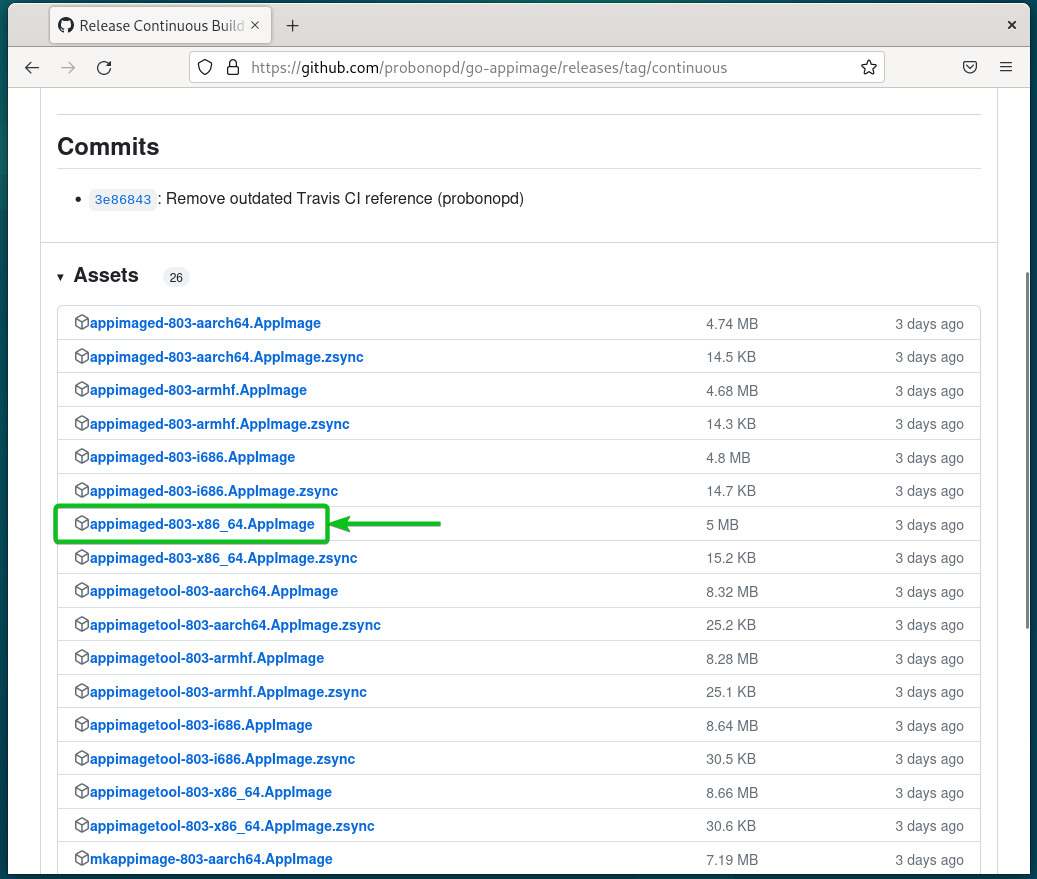
Your browser should download the appimaged AppImage file.

Creating a Directory for AppImage Apps
Although the appimaged searches for AppImage apps in the ~/Downloads directory, it’s a good idea to move all the AppImage apps that you want to keep to the ~/bin directory of your Linux distribution just to keep things organized.
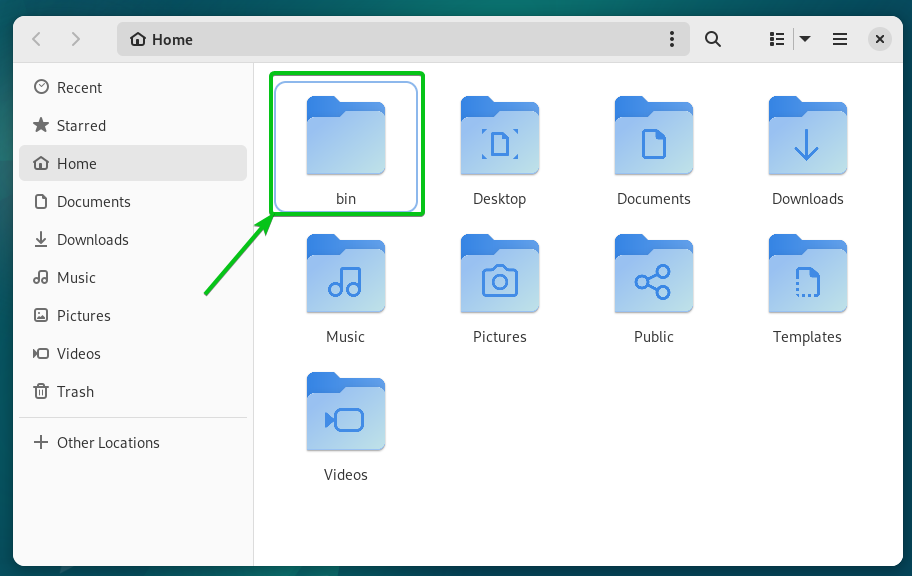
To create a new ~/bin directory on your Linux distribution, run the following command:
The ~/bin directory should be created in your login user’s HOME directory.
Moving Appimaged to the ~/bin Directory
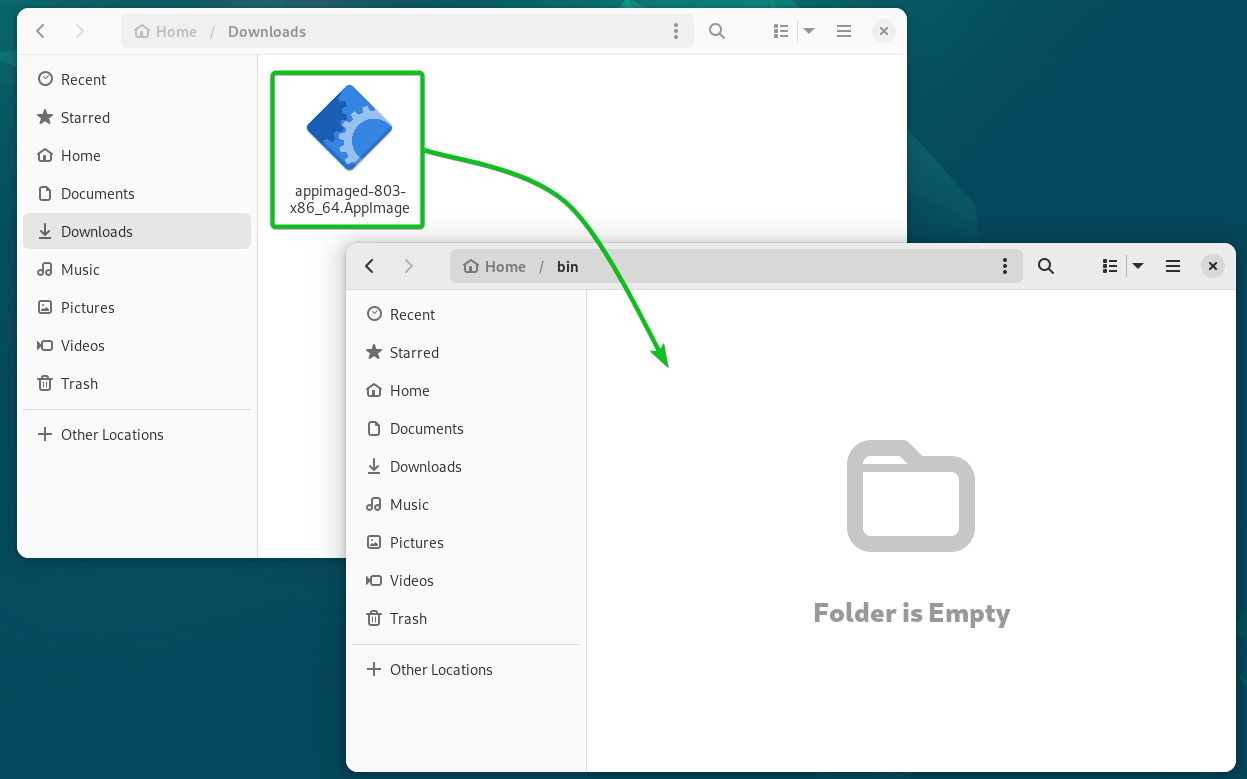
Now that the appimaged AppImage file is downloaded and the ~/bin directory is created, move the appimaged AppImage file to the ~/bin directory.
Making the Appimaged AppImage File Executable
To run the appimaged AppImage file, you must make it executable. You can do it from the command-line as well as from the graphical user interface (GUI).
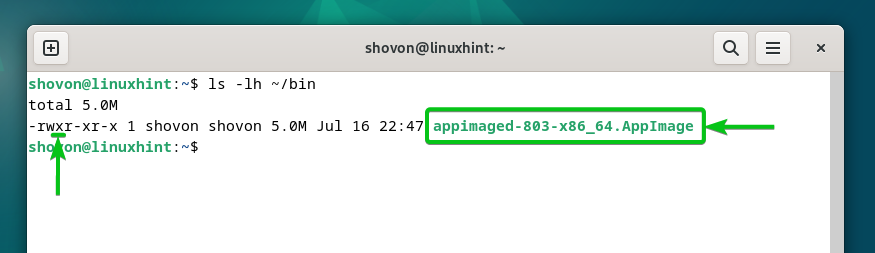
To make the AppImage files in the ~/bin directory executable, run the following command from a Terminal app:
$ chmod +x ~/bin/*.AppImage
The appimaged AppImage file should have the executable permission as you can see in the following screenshot:
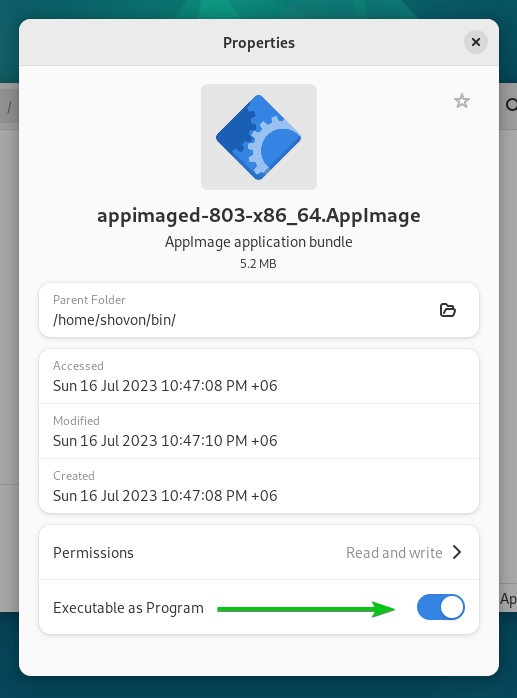
To make the appimaged AppImage file executable from the graphical user interface (GUI), right-click (RMB) on it and click on “Properties”.

Make sure to toggle on “Executable as Program” for the appimaged AppImage file.
NOTE: We used the GNOME desktop environment for the demonstration. You will find similar options in other desktop environments.
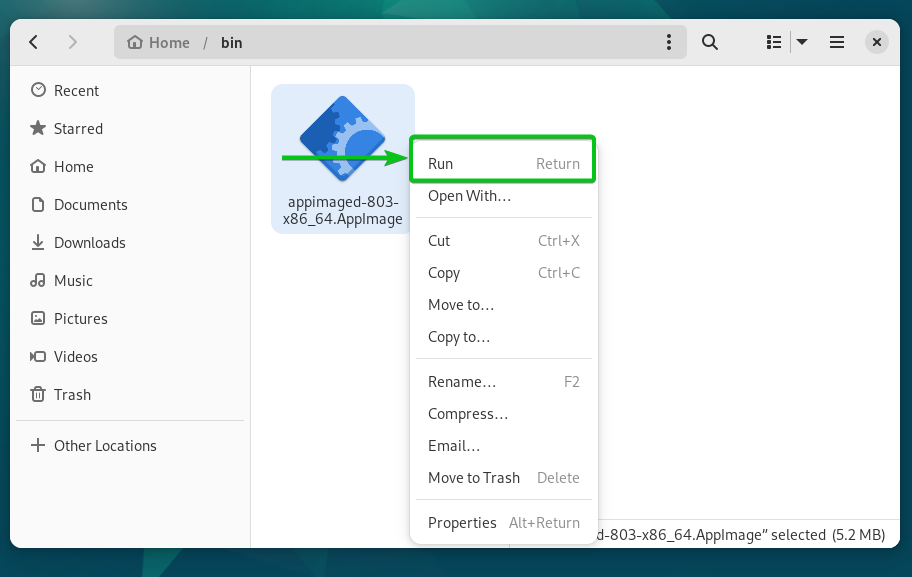
Running the Appimaged
To run the appimaged AppImage file, double-click (LMB) on it or right-click (RMB) on the AppImage file and click on “Run”.
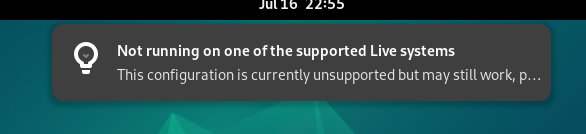
You may see a warning notification message as shown in the following screenshot. Don’t worry about it.
Downloading the AppImage Apps
Now that you have the AppImage configured on your Linux distribution, it’s time to get some AppImage apps that you can run.
You can find a list of Linux apps distributed as AppImage in the GitHub AppImage apps list which you can find in the URL: https://appimage.github.io/apps/.
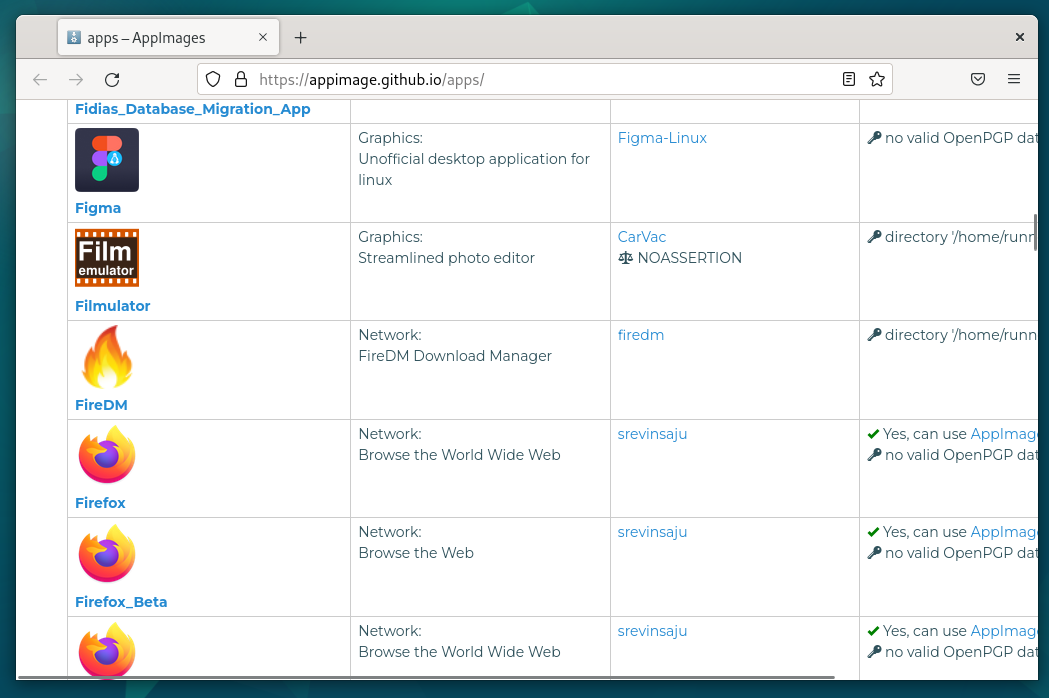
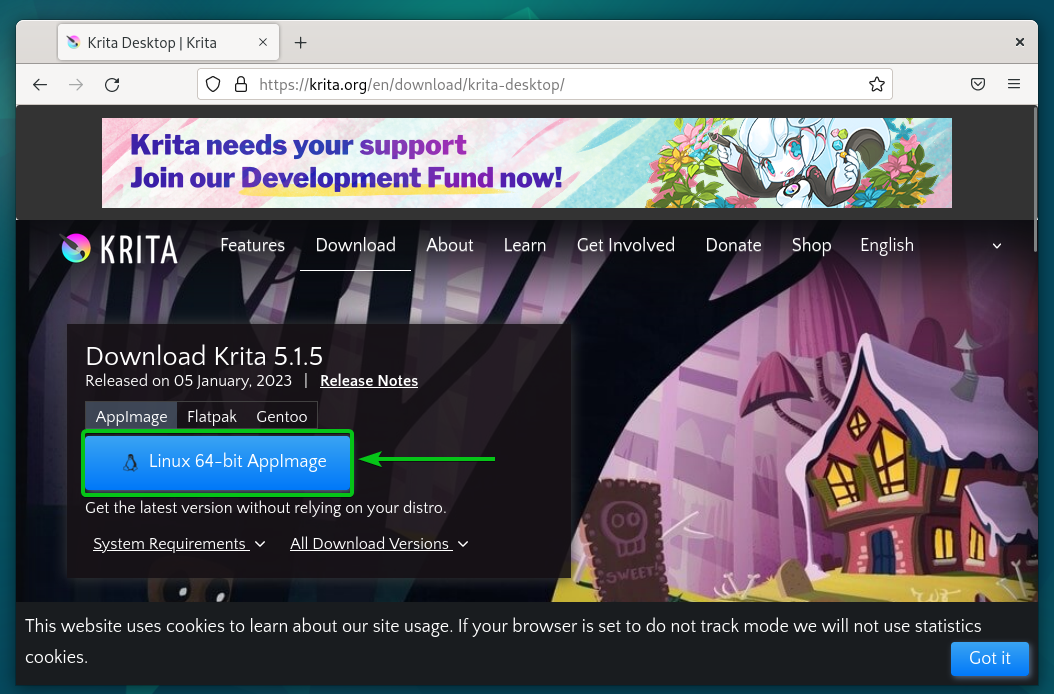
Some of the popular Linux software like Krita officially supports AppImage. You can download the latest version of Krita in the AppImage format from the official website of Krita.
Once the page loads, click on “Linux 64-bit AppImage” from the AppImage tab as marked in the following screenshot:
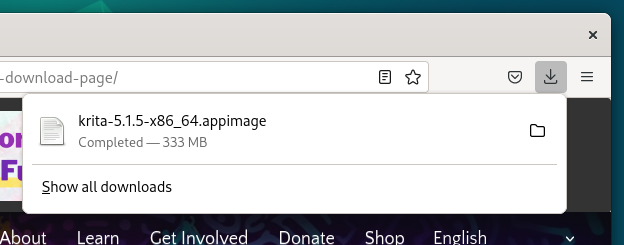
The Krita AppImage file is being downloaded. It takes a while to complete.

The Krita AppImage file should be downloaded.
Moving the AppImage Apps to the ~/bin Directory
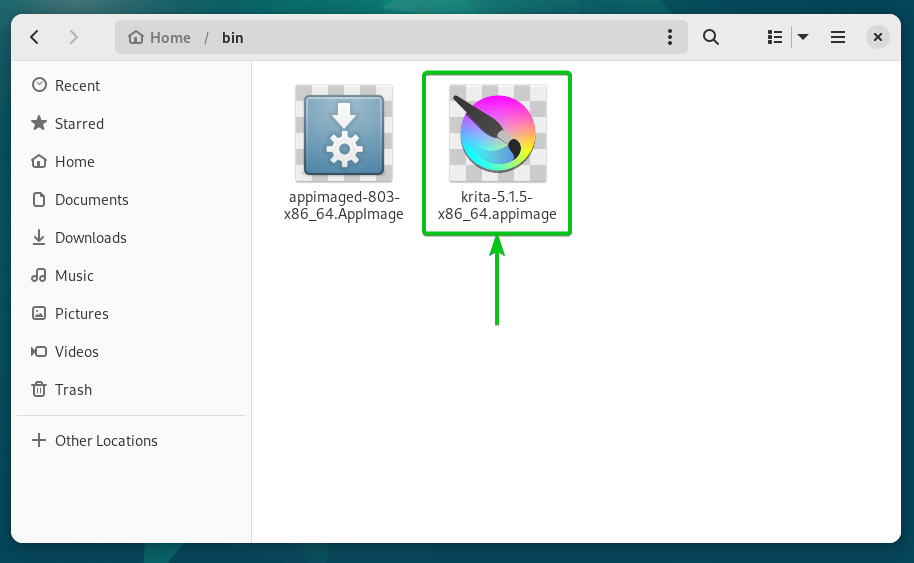
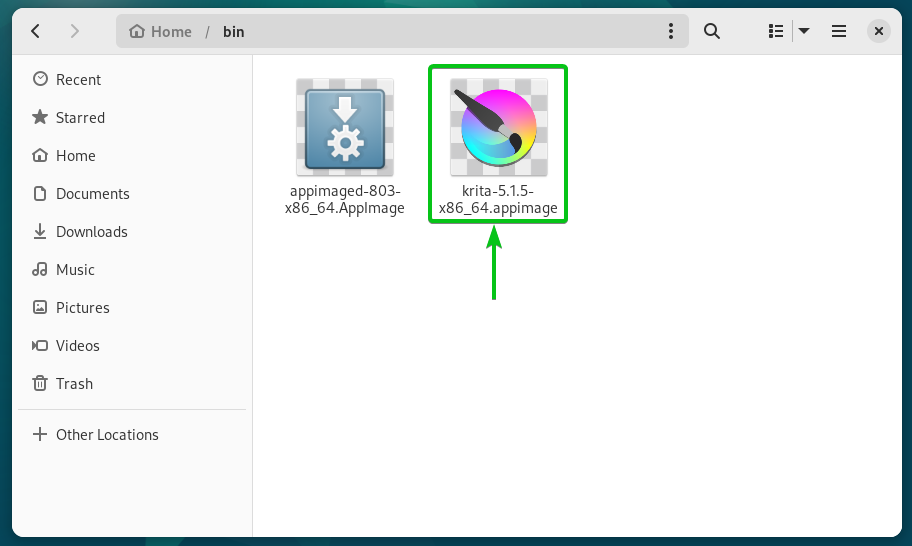
To keep all the AppImage apps organized, move the Krita AppImage file from the ~/Downloads directory to the ~/bin directory.
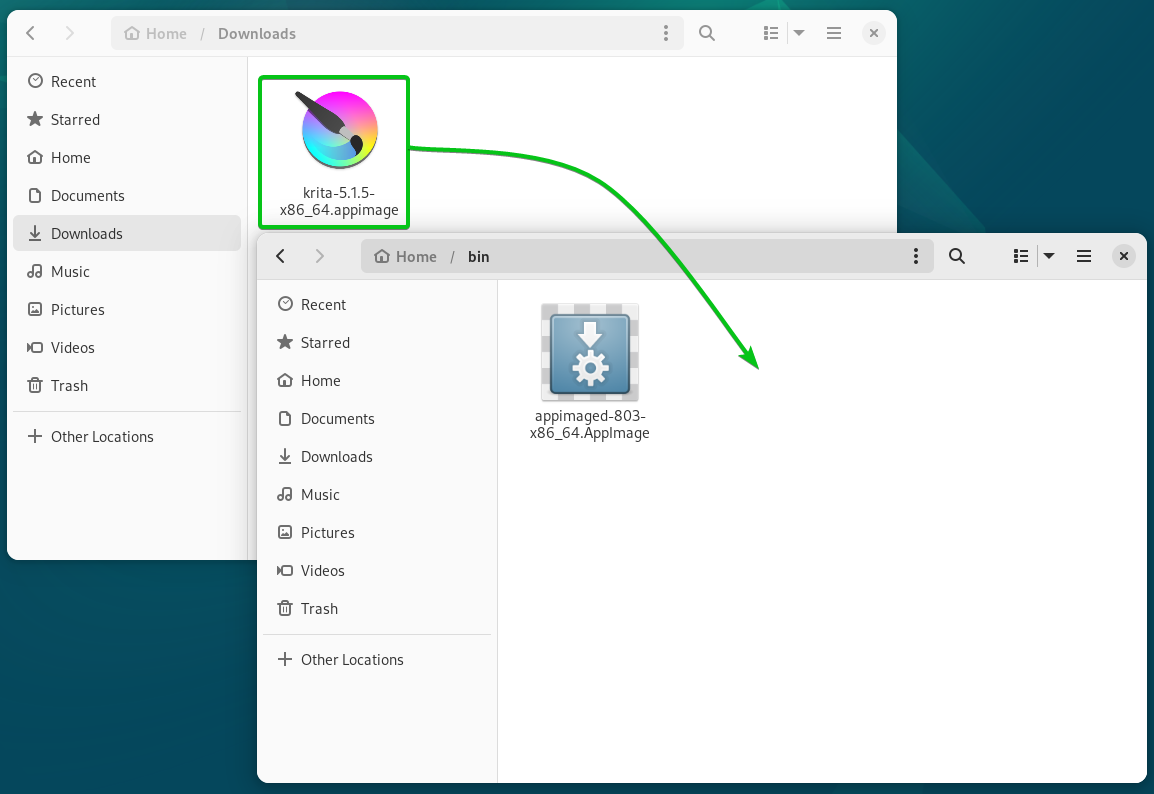
The Krita AppImage file should display the Krita app icon. It means that appimaged is working just fine.
Running the AppImage Apps on Linux
Running the AppImage apps on Linux is really easy. You can double-click (LMB) on the AppImage app file from the ~/bin or ~/Downloads directory to start it.
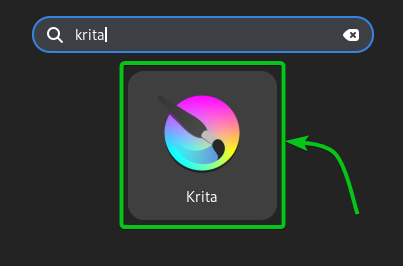
If you installed the appimaged on your Linux distribution and it’s working correctly, you can find your AppImage apps in the “Application Menu” of your Linux desktop environment.
As you can see, Krita is being displayed in the “Application Menu” of our GNOME desktop environment. To run it, click on the Krita app.
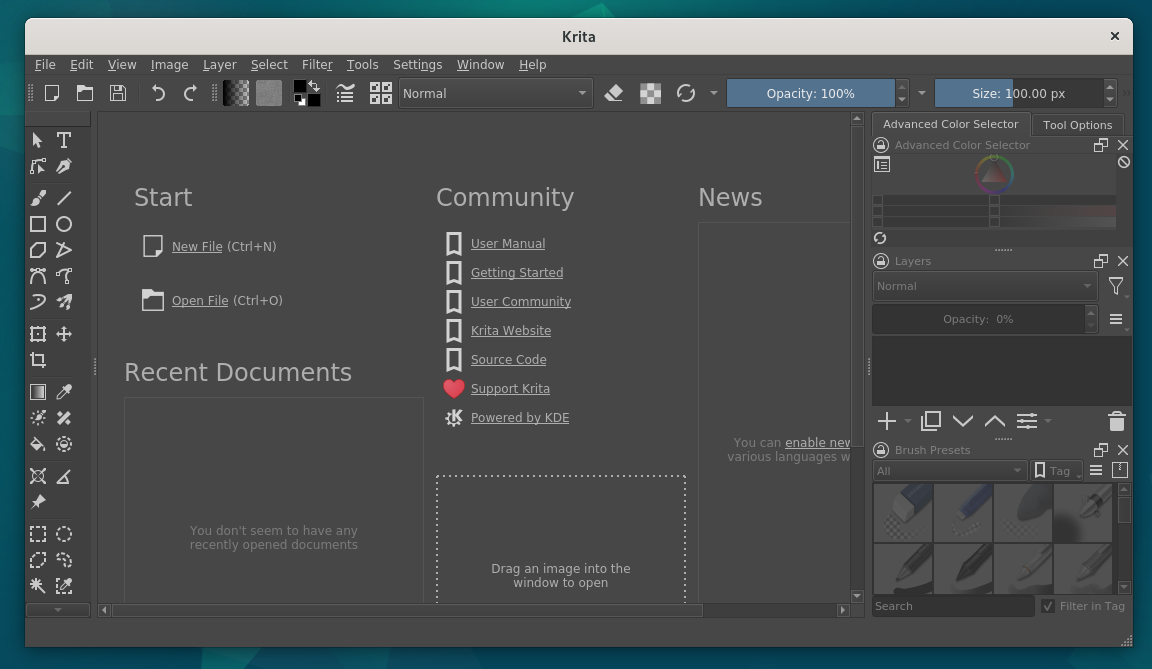
Krita is being started.

Krita should start.
Conclusion
We showed you how to set up the appimaged on your Linux distribution so that you can integrate the AppImage apps into your Linux desktop environment. We also showed you how to download the AppImage apps and run them on your Linux distribution.