
GHz stands for Gigahertz, is a unit of processors measuring clock speed. Wi-Fi GHz is the speed of an internet’s network in frequency. If you want to view your phone’s Wi-Fi GHz, there are the following ways of doing this on your Android device.
Contents
How to View Wi-Fi GHz on Android?
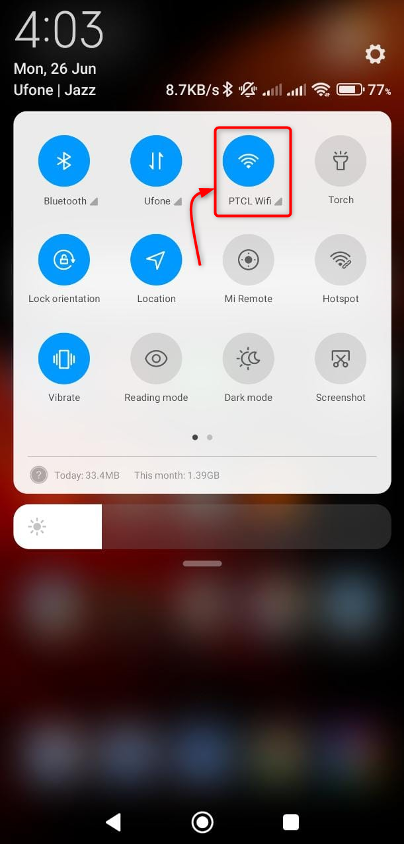
Let’s check what steps we should take to view Wi-Fi GHz on an Android device. For this, you have to turn ON the Wi-Fi of your device from settings or simply slide the screen down.
Step 1: Toggle Wi-Fi Option
Tap and hold the Wi-Fi icon, you will see all available Wi-Fi networks for connection.
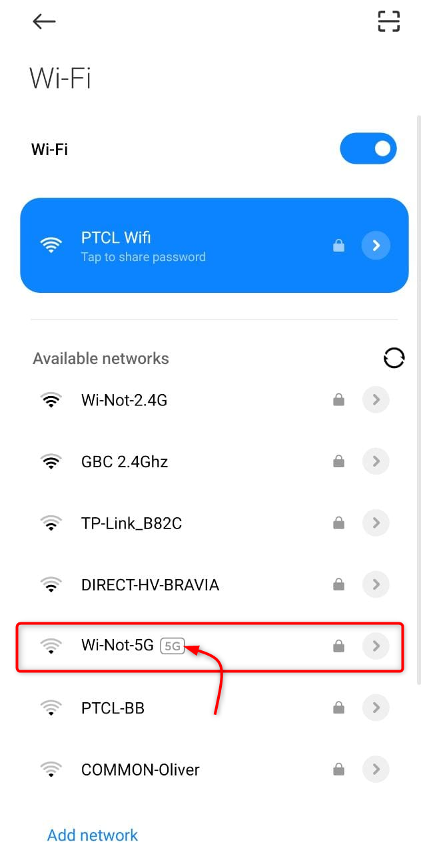
Step 2: Viewing GHz on Android
After that, you will have a list of Wi-Fi connections. All those networks that are dual-band have 5 GHz written at the end and the network with no 5G tag shows that they are only 2.4 Ghz supported.
How To Check Your Mobile Hotspot GHz?
Android’s latest smartphones have dual bands option (2.4 GHz and 5 GHz). Get complete knowledge of viewing Wi-Fi GHz by the following steps.
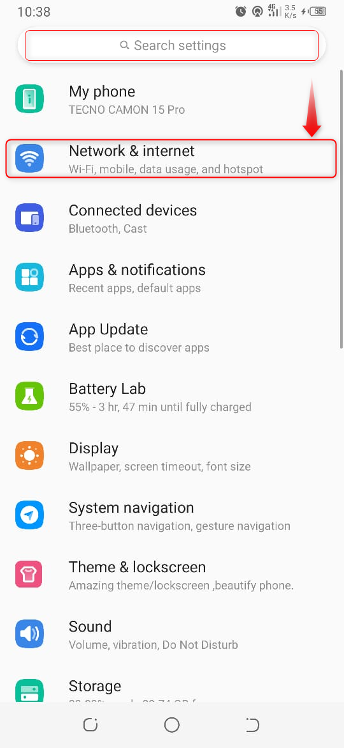
Step 1: Open Settings
Go to the main settings and select Network & internet option.
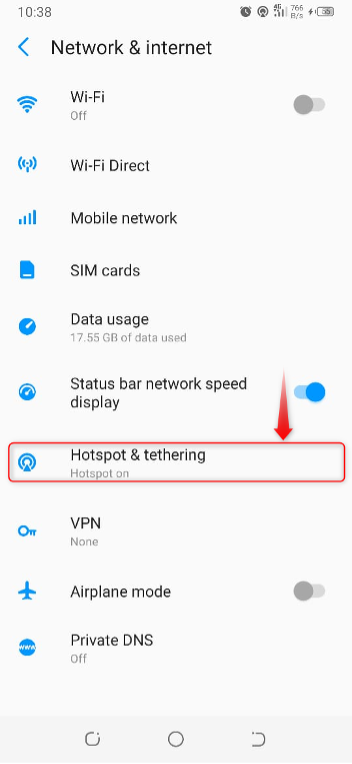
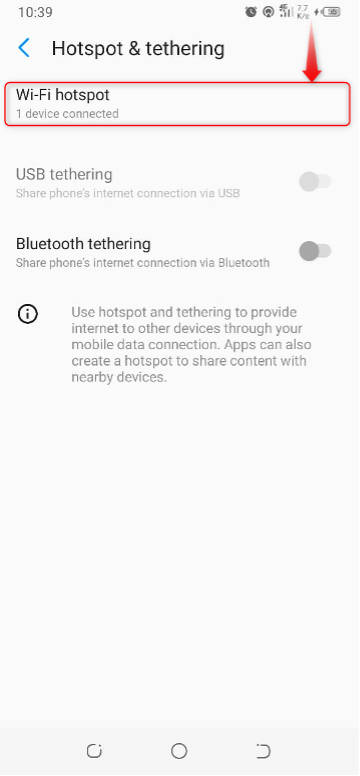
Step 2: Open Hotspot & Tethering Option
Next, tap on the Hotspot & tethering option from the given menu.
Step 3: Go to Wi-Fi Hotspot Option
After that, you will be given another menu for selection. Select the Wi-Fi hotspot option.
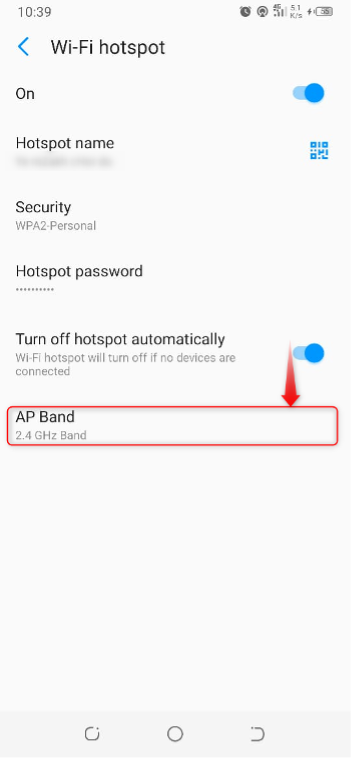
Step 4: Open AP Band
After that, you will see your device’s AP Band. To change AP Band, tap on it.
Step 5: Changing AP Band
You will see the pop-up on your screen with 2.4 GHz and 5.0 GHz options if your device supports dual-band. Select one of them.
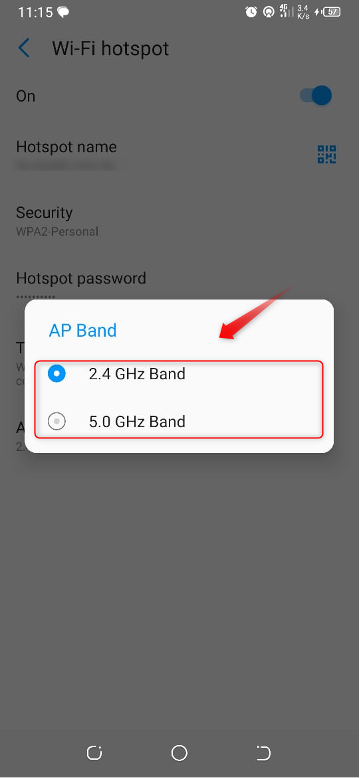
We have successfully changed the mobile hotspot Wi-Fi band from 2.4 GHz to 5 GHz.
How to View Wi-Fi GHz Using a Third-Party App?
We will use the third-Party app NetSpot Wi-Fi Heat Map analyzer, available on Google Play Store, for viewing Wi-Fi GHz on our Android device.
NetSpot WiFi Heat Map Analyzer
This app offers you to check connected Wi-Fi frequencies and can also check your device’s internet speed. In this section of the article, we will use this app for viewing connected Wi-Fi network speed
Step 1: Install NetSpot Wi-Fi Analyzer
Initially, go to the Google Play Store and search for Wi-Fi Analyzer for installing.
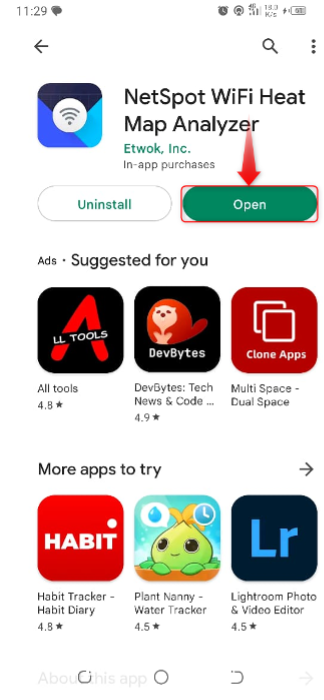
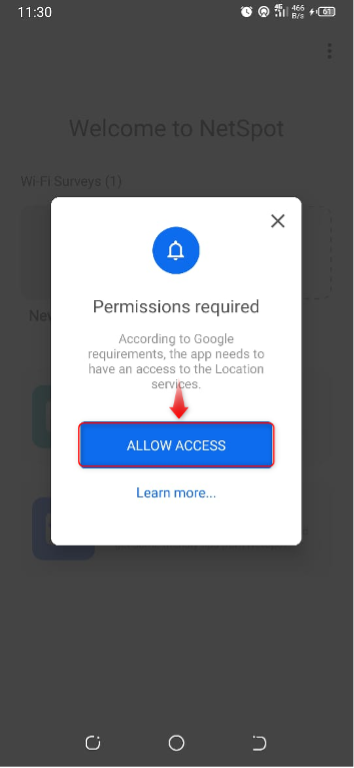
Step 2: Launch the App
Next, open the app and tap on the Allow Access option, to give access to your device.
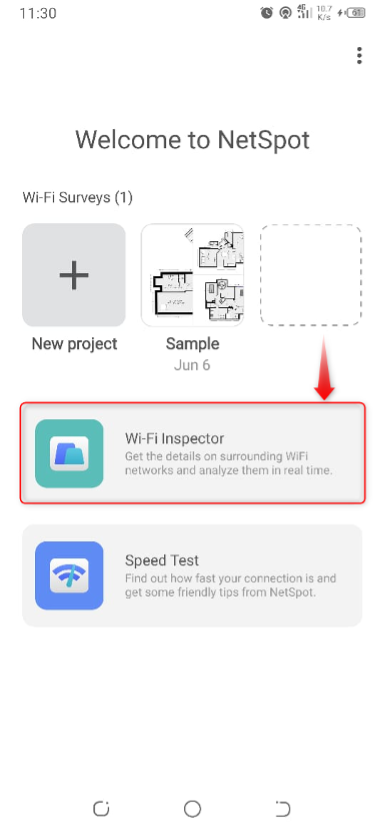
Step 3: Inspect the Connected Wi-Fi
After the allowed access, tap on the Wi-Fi Inspector option. It will take a few seconds and give you the required result.
Here is the output of using NetSpot Wi-Fi app, you can see all connected Wi-Fi bands.

Conclusion
If you want to know what device band you are using, you can consider the above-mentioned ways. If your device has both options, your device can connect to all other 2.0 GHz and 5.0 GHz networks. You can also use a third-party NetSpot – WiFi Analyzer app to view Wi-Fi GHz on your Android device.