In this article, we will show you how to configure a RAID array from the Debian 12 installer so that you can use it in your newly installed Debian 12 system.
- The Basics of All the MDADM Supported RAID Types
- Manually Partition the Disks from the Debian 12 Installer
- Create New Partition Tables on the Disks from the Debian 12 Installer
- Create a RAID Array from the Debian 12 Installer
- Create a Filesystem on the RAID Disk from the Debian 12 Installer
- Save the Changes and Continue the Debian 12 Installation
- Conclusion
Contents
- 1 The Basics of All the MDADM-Supported RAID Types
- 2 Manually Partition the Disks from the Debian 12 Installer
- 3 Create New Partition Tables on the Disks from the Debian 12 Installer
- 4 Create a RAID Array from the Debian 12 Installer
- 5 Create a Filesystem on the RAID Disk from the Debian 12 Installer
- 6 Save the Changes and Continue the Debian 12 Installation
- 7 Conclusion
The Basics of All the MDADM-Supported RAID Types
Debian 12 uses MDADM to manage the software RAIDs. To learn how different types of MDADM RAID work, read the article on How Does MDADM RAID Work on Linux. This will help you have a clear understanding of the Linux software RAID (MDADM) and make the configuration of RAID arrays from the Debian 12 installer easier for you.
Manually Partition the Disks from the Debian 12 Installer
To manually partition the disks from the Debian 12 installer, select “Manual” and press <Enter>.

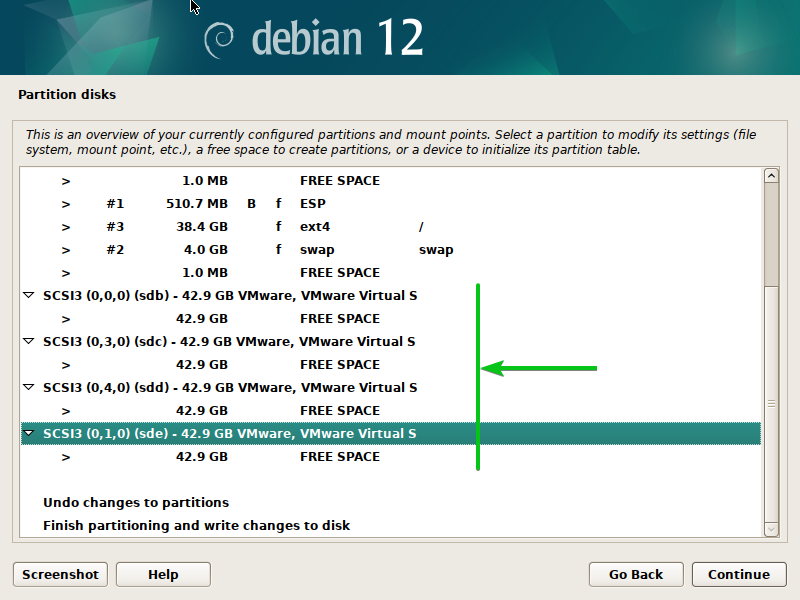
The available disks on your computer should be displayed. You can configure RAID for Debian 12 installation from here.
Before you configure a RAID array, you have to create the minimal partitions for installing Debian 12. For most purposes, an EFI boot partition (ESP), a root partition (/), and a Swap partition are enough to install Debian 12. For more information on advanced disk partitioning for Debian 12 installation, read this article.

Create New Partition Tables on the Disks from the Debian 12 Installer
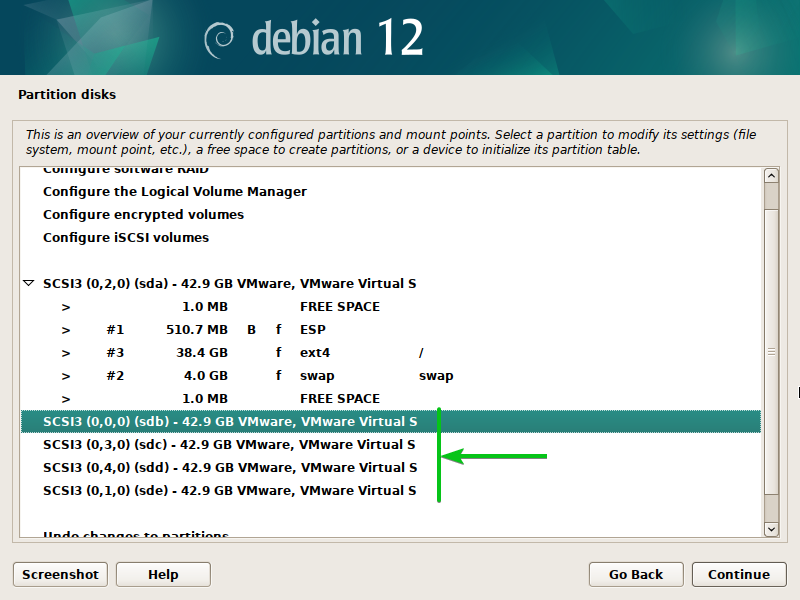
To create a RAID array from the Debian 12 installer, you have to create new partition tables on the disks that you want to use for the RAID array.
To create a new partition table on a disk (let’s say, sdb), select it and press <Enter>.
Select “Yes”[1] and click on “Continue”[2].
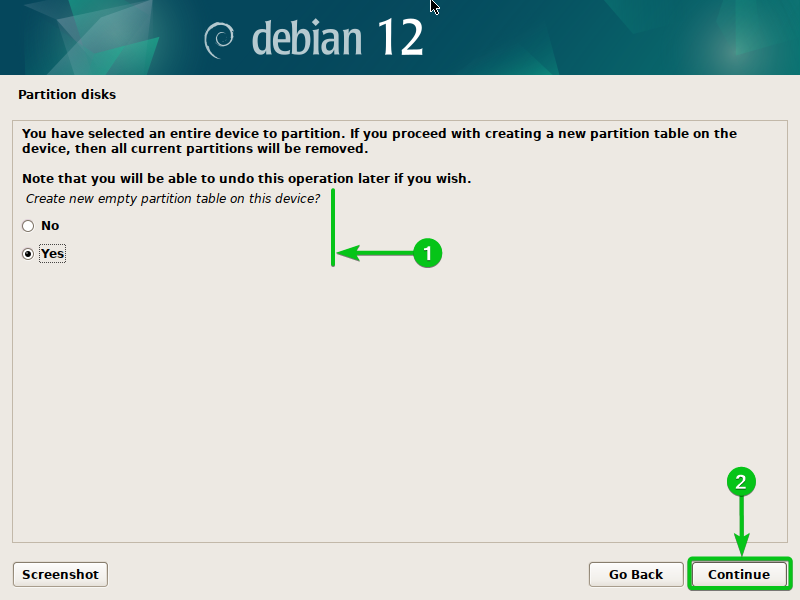
A new partition table should be created on the selected disk.
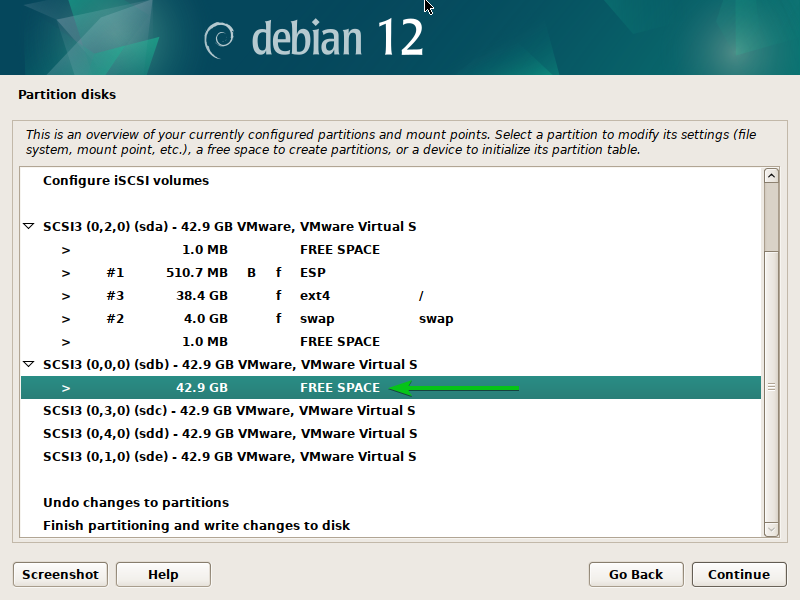
In the same way, create a new partition table on all the disks that you want to add to the RAID array.
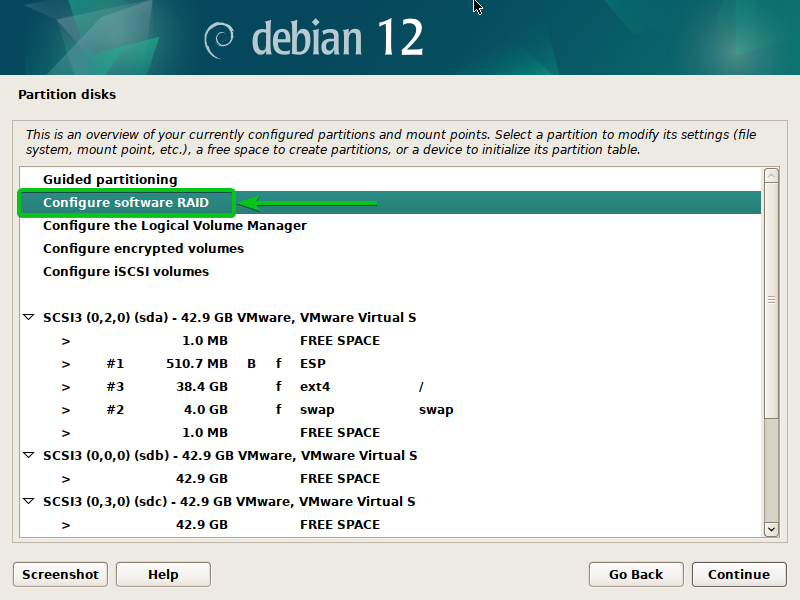
Create a RAID Array from the Debian 12 Installer
To configure a RAID array from the Debian 12 installer, select “Configure software RAID” and press <Enter>.
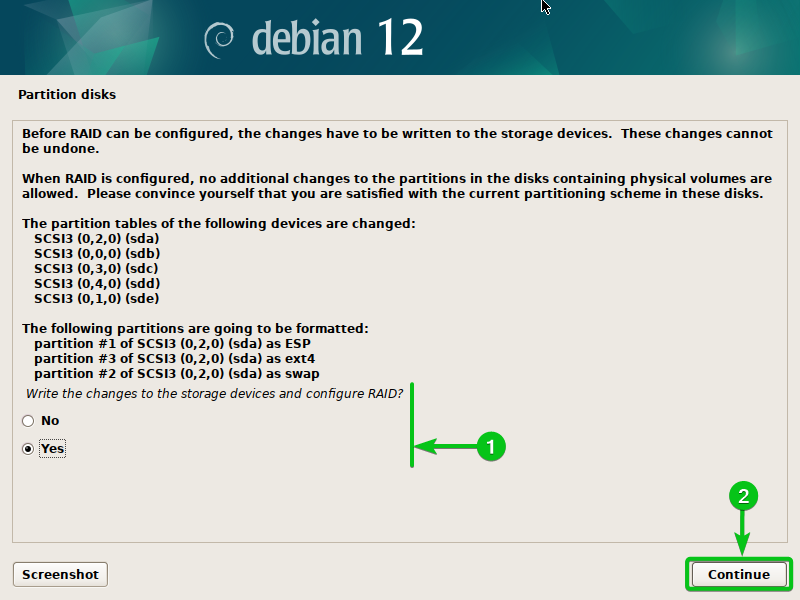
Select “Yes”[1] and click on “Continue”[2].
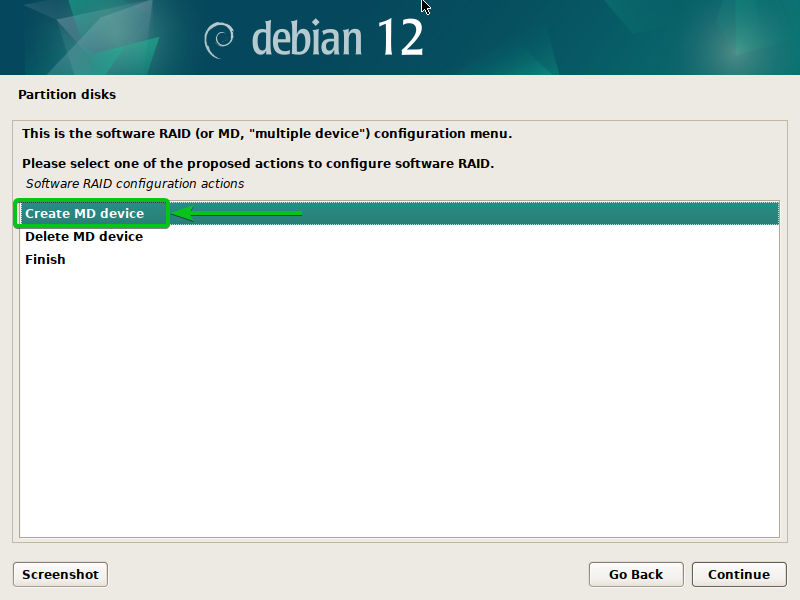
Select “Create MD device” and press <Enter>.
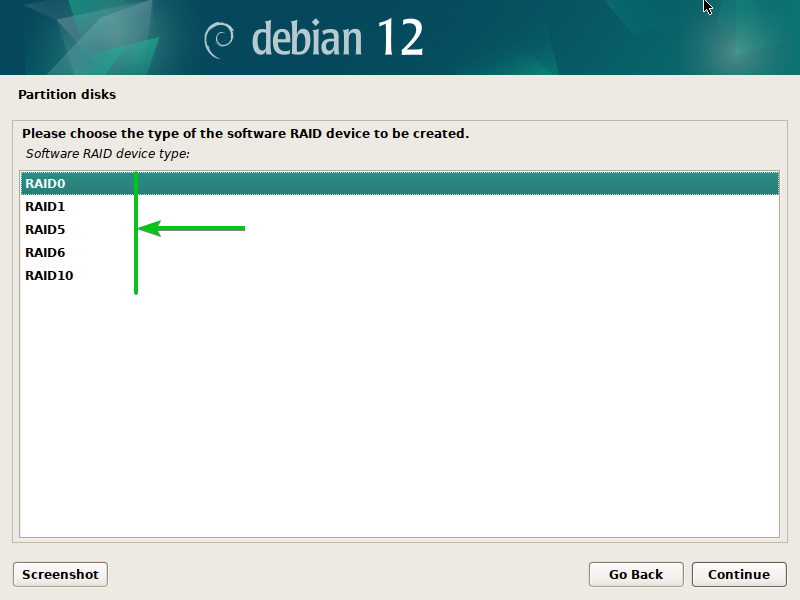
Select the RAID type that you want to configure and press <Enter>. If you want to learn more about these RAID types, read this article.
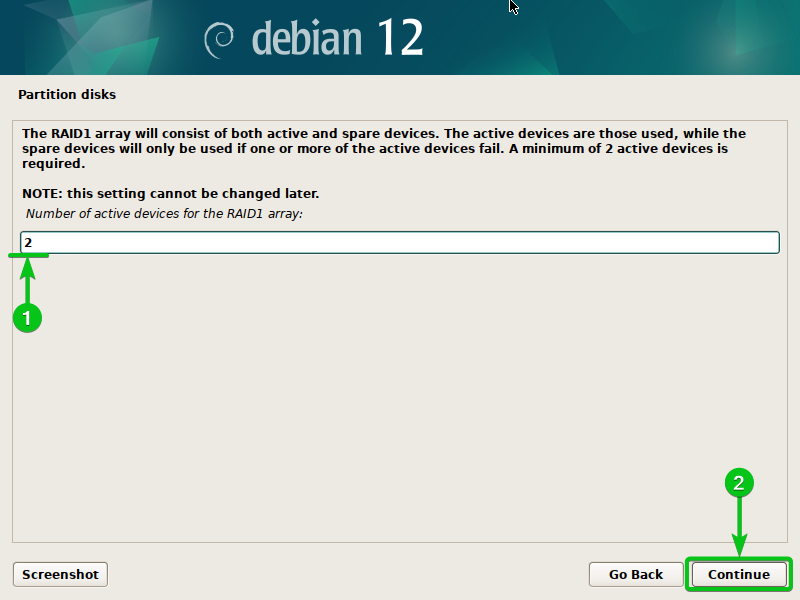
Type in the number of active disks[1] that you want to add to this RAID array and click on “Continue”[2].
NOTE: Different RAID types have different active and spare disk requirements. Read this article to learn more about the required active and spare disks for each RAID type.
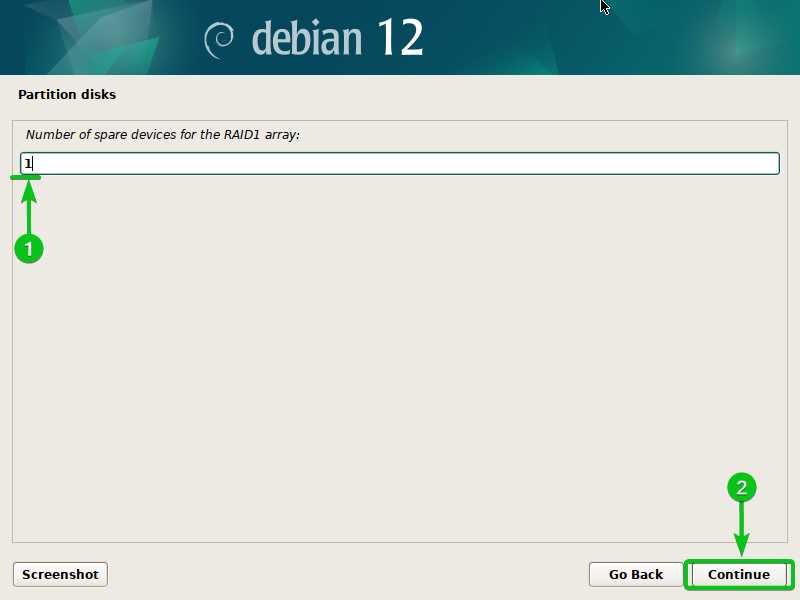
Type in the number of spare disks[1] that you want to add to this RAID array and click on “Continue”[2].
NOTE: Different RAID types have different active and spare disk requirements. Read this article to learn more about the required active and spare disks for each RAID type.
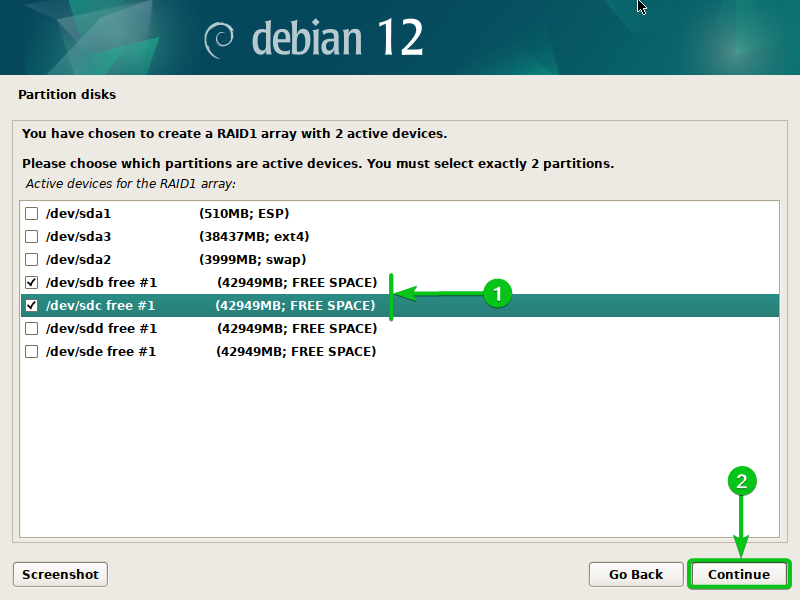
Select the disks that you want to use as active disks for the RAID array[1] and click on “Continue”[2].
NOTE: You must select the same number of disks as active disks as you configured earlier.
Select the disks that you want to use as spare disks for the RAID array[1] and click on “Continue”[2].
NOTE: You must select the same number of disks as spare disks as you configured earlier.

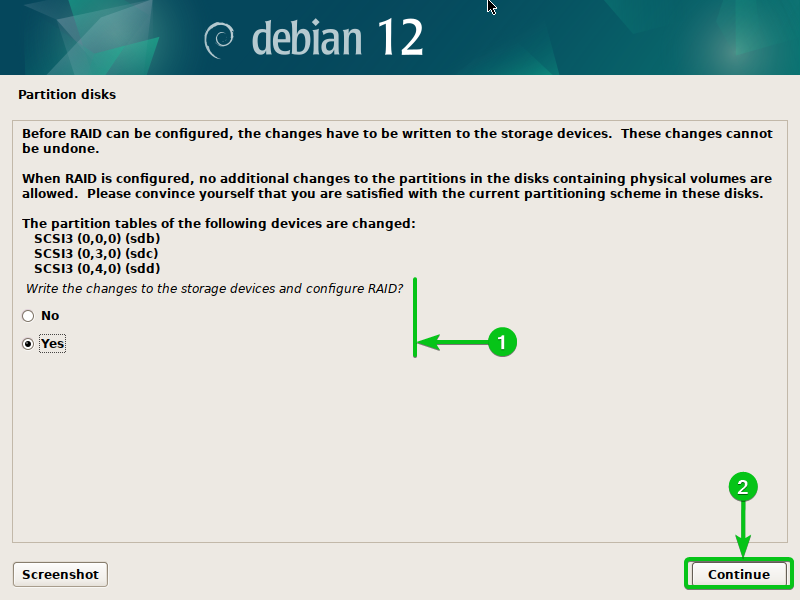
Select “Yes”[1] and click on “Continue”[2].
Select “Finish” and press <Enter>.
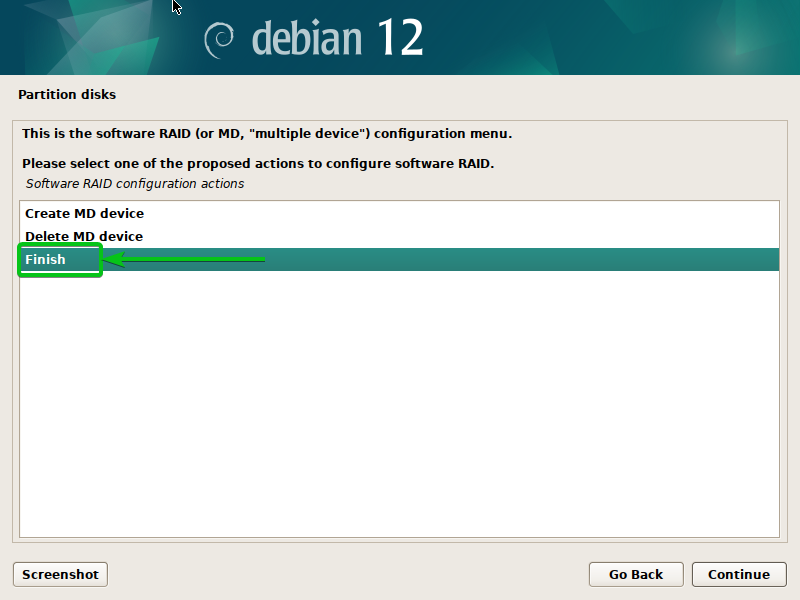
A new RAID disk should be created.

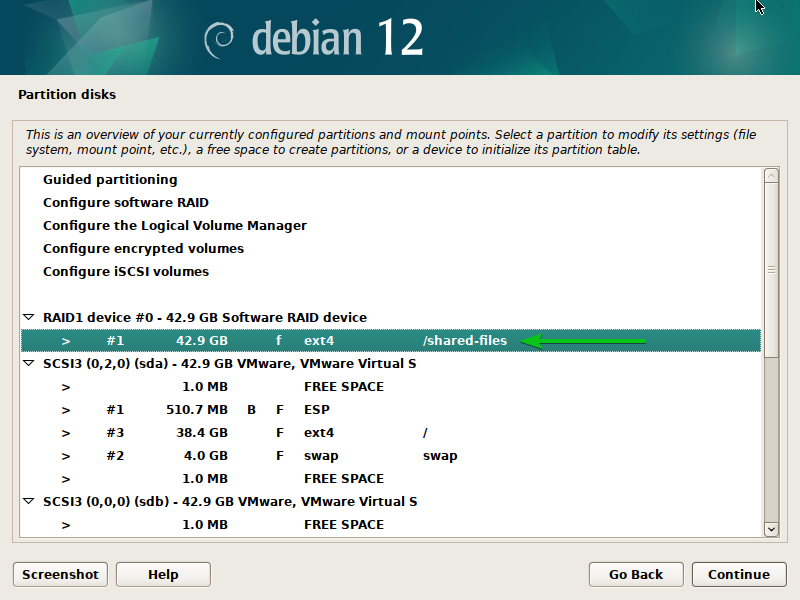
Create a Filesystem on the RAID Disk from the Debian 12 Installer
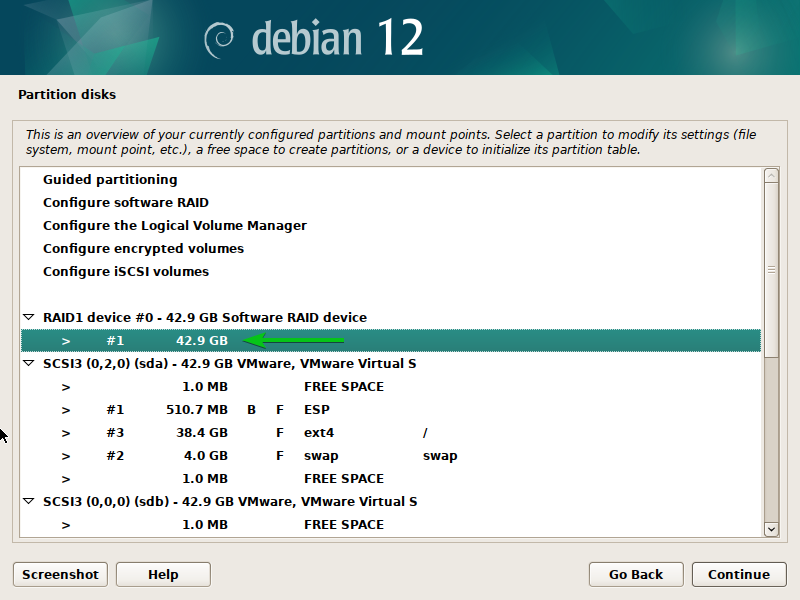
You can create a filesystem and add a mount point for the RAID device in the same way as you do for other partitions.
To create a filesystem and add a mount point, select the RAID device and press <Enter>.
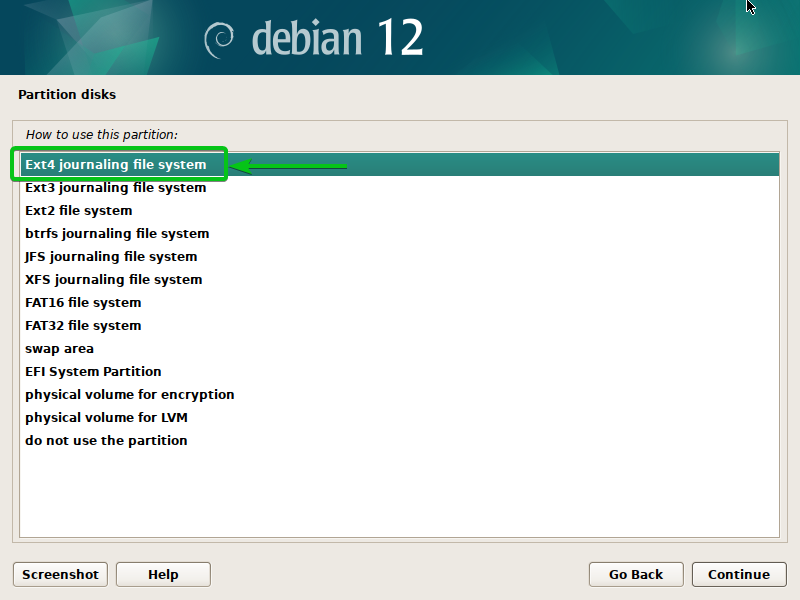
Select “Use as” and press <Enter>.
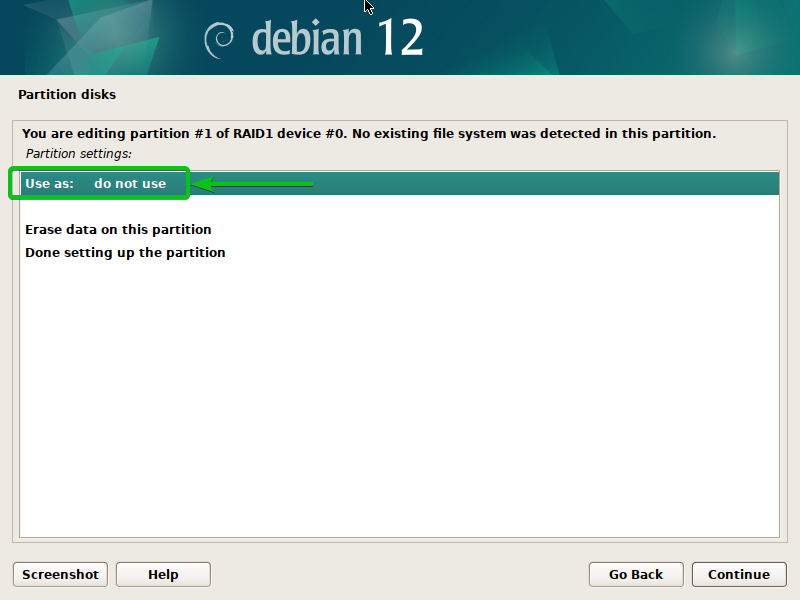
Select a filesystem (of your choice) that you want to use for the RAID disk and press <Enter>.
Select “Mount point” and press <Enter>.
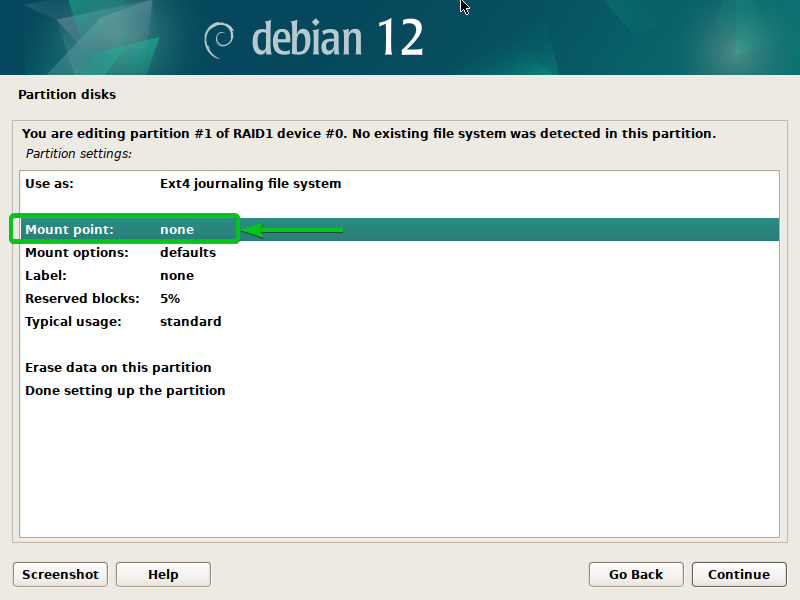
Select one of the predefined mount points for the RAID disk. If you want to enter the mount point manually, select “Enter manually” and press <Enter>.
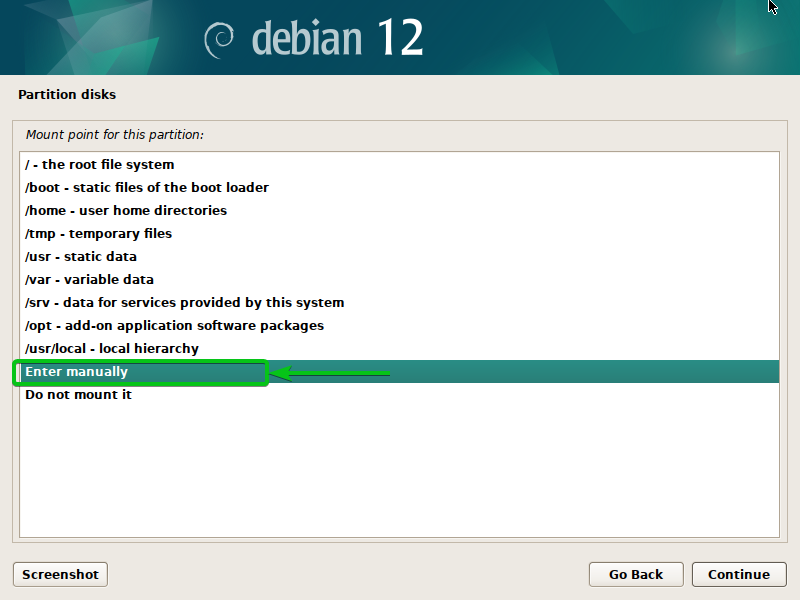
Type in your desired mount point[1] and click on “Continue”[2].

Select “Done setting up the partition” and press <Enter>.
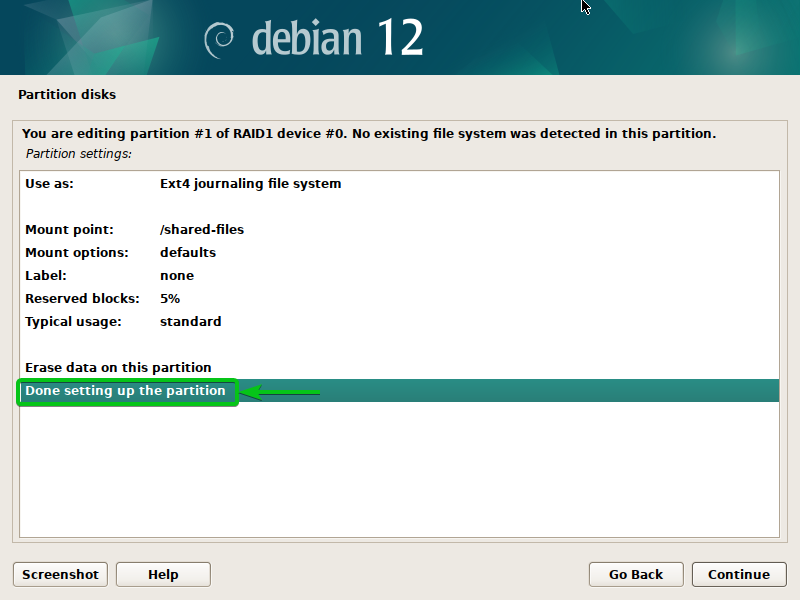
A filesystem and mount point should be set for the RAID disk.
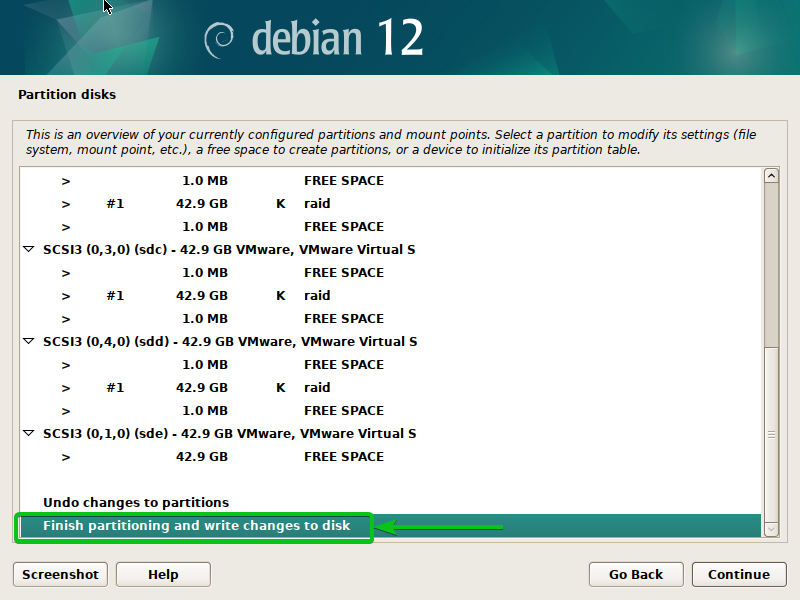
Save the Changes and Continue the Debian 12 Installation
Once you’re done with disk partitioning for the Debian 12 installation, select “Finish partitioning” and write the changes to the disk and press <Enter>.
Select “Yes”[1] and click on “Continue”[2].

The Debian 12 installation should continue.
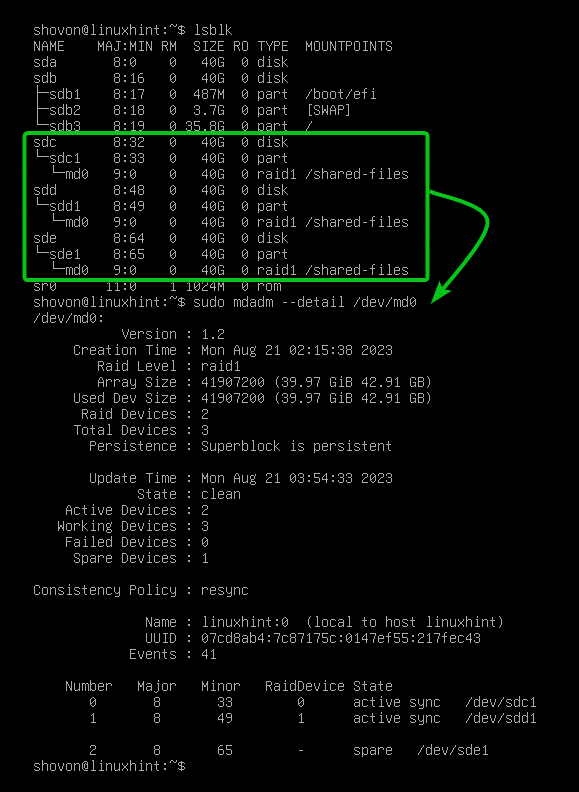
Once Debian 12 is installed and you boot into the newly installed Debian 12 system, open a Terminal program and run the following commands. You should see that the RAID disk (/dev/md0 in this case) is mounted on the configured path/mount point (/shared-files in this case):
$ sudo mdadm –detail /dev/md0
Conclusion
We showed you how to configure a RAID array from the Debian 12 installer. We also showed you how to format and add a mount point to the RAID disk from the Debian 12 installer so that you can use it in your newly installed Debian 12 system.