In this article, we will show you how to install the Debian 12 Desktop operating system on your computer alongside the Windows 10/11 operating system. If you already have the Windows 10/11 operating system installed on your computer, dual-booting Debian 12 is one of the best methods to try out Debian 12 on your computer.
Contents
- 1 Topic of Contents:
- 2 Making Room for Debian 12 from Windows 10/11
- 3 Downloading the Debian 12 ISO Image
- 4 Creating a Bootable USB Thumb Drive of Debian 12
- 5 Booting the Debian 12 Installer on Your Computer from the USB Thumb Drive
- 6 Installing Debian 12 alongside Windows 10/11
- 7 Booting Debian 12 for the First Time
- 8 Booting Windows 10/11 from the Debian 12 GRUB Boot Menu
- 9 Conclusion
Topic of Contents:
- Making Room for Debian 12 from Windows 10/11
- Downloading the Debian 12 ISO Image
- Creating a Bootable USB Thumb Drive of Debian 12
- Booting the Debian 12 Installer on Your Computer from the USB Thumb Drive
- Installing Debian 12 alongside Windows 10/11
- Booting Debian 12 for the First Time
- Booting Windows 10/11 from the Debian 12 GRUB Boot Menu
- Conclusion
Making Room for Debian 12 from Windows 10/11
To dual-boot Debian 12 or install Debian 12 alongside Windows 10/11, you have to make some free disk space from Windows 10/11 to install Debian 12.
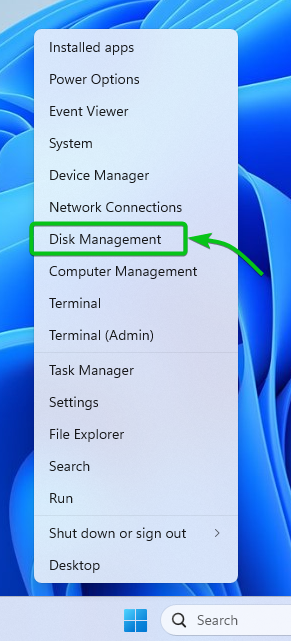
To make some free disk space for installing Debian 12 on Windows 10/11, right-click (RMB) on the start menu and click on “Disk Management”.
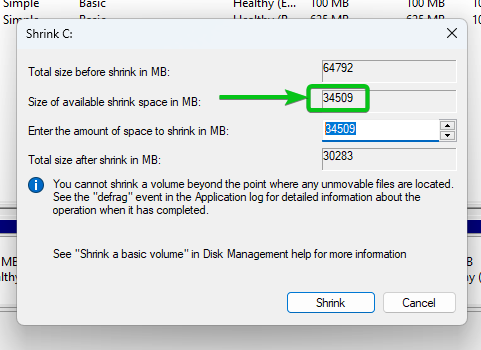
Right-click (RMB) on the partition that you want to shrink to reclaim some free disk space for installing Debian 12 and click on “Shrink Volume”.

The amount of disk space (in megabytes) that you can shrink is displayed in the “Size of available shrink space in MB” section.
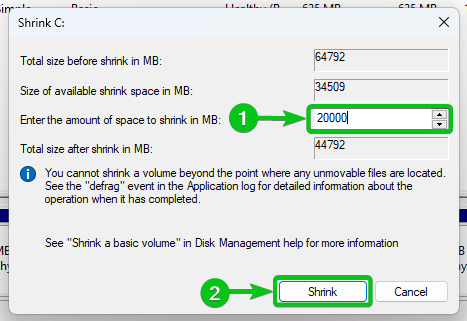
Let’s say you want to create a 20 GB or 20000 MB of free space. So, you have to shrink the partition by 20 GB or 20000 MB. Type in “20000” in the “Enter the amount of space to shrink in MB” section[1] and click on “Shrink”[2].
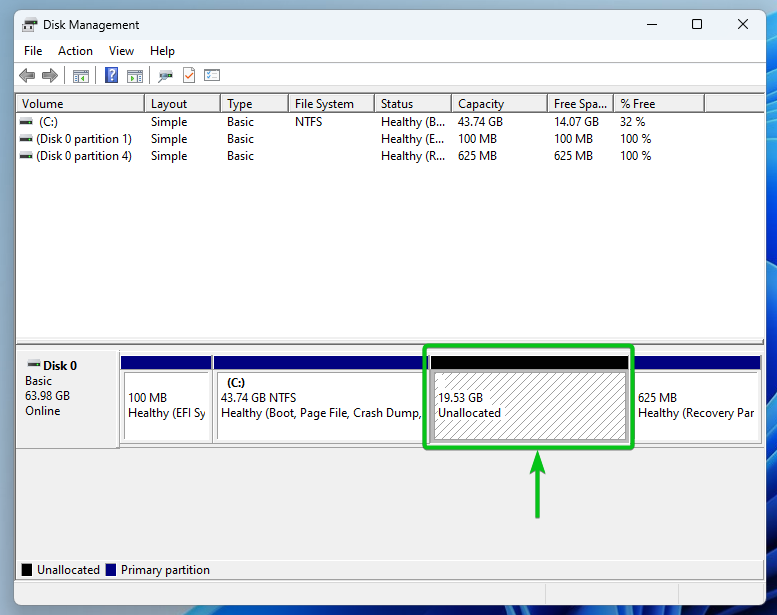
Once the partition is shrunk, you should see an unallocated portion of the disk. You can install Debian 12 in this unallocated disk space.
Downloading the Debian 12 ISO Image
You can download the ISO image of Debian 12 from the official website of Debian. If you need any assistance on that, read this article.
Creating a Bootable USB Thumb Drive of Debian 12
Once you downloaded the ISO image of Debian 12, you have to create a bootable USB thumb drive of Debian 12 so that you can boot the Debian 12 installer and install Debian 12 on your computer. If you need any assistance on that, read this article.
Booting the Debian 12 Installer on Your Computer from the USB Thumb Drive
Once you prepared a bootable USB thumb drive of Debian 12, you have to boot your computer from it. The process of booting from a USB thumb drive depends on the motherboard that you installed on your computer.
If you need any assistance in booting your computer from the USB thumb drive of Debian 12, read the article on How to Boot Your Computer From a USB Thumb Drive.
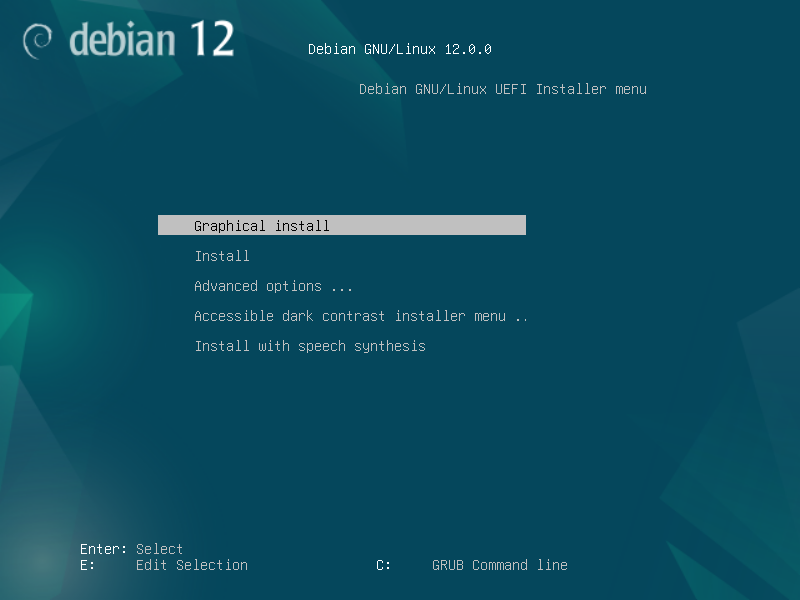
Once you boot your computer from the bootable USB thumb drive of Debian 12, you will see the following boot menu. Select “Graphical install” and press <Enter>.
The Debian 12 installer should be displayed. You can install Debian 12 on your computer from here.
Installing Debian 12 alongside Windows 10/11
In this section, we will quickly go over the installation process of Debian 12 alongside Windows 10/11. For a detailed explanation of each of the steps of the Debian 12 installer, read the article on How to Install Debian 12 Desktop on Your Computer.
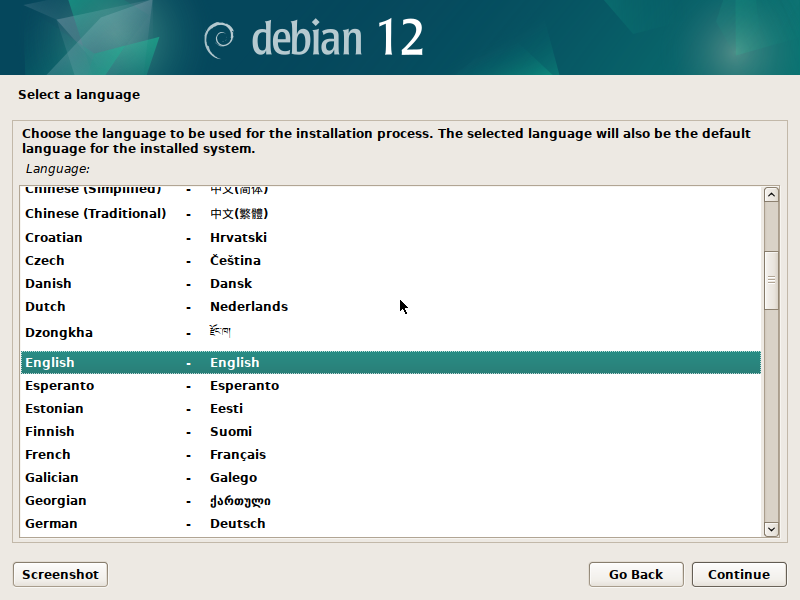
First, select your language and click on “Continue”.
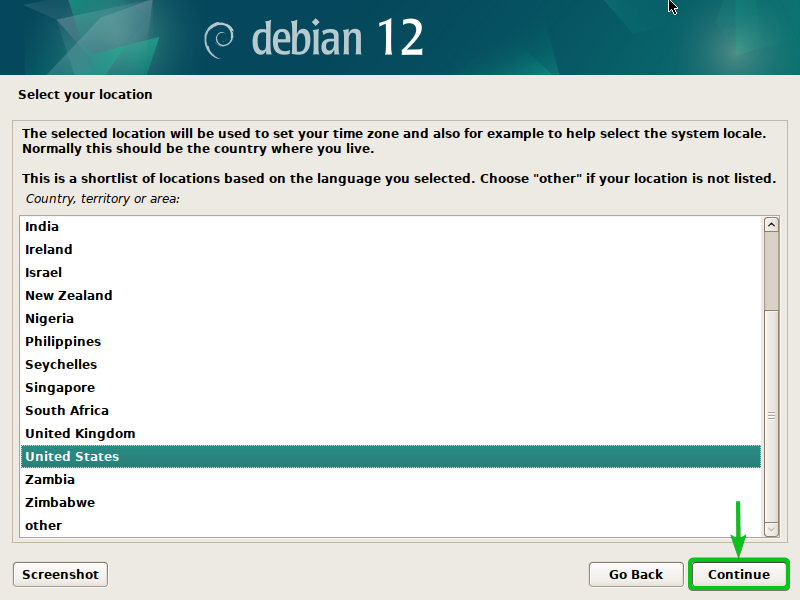
Select your country and click on “Continue”.
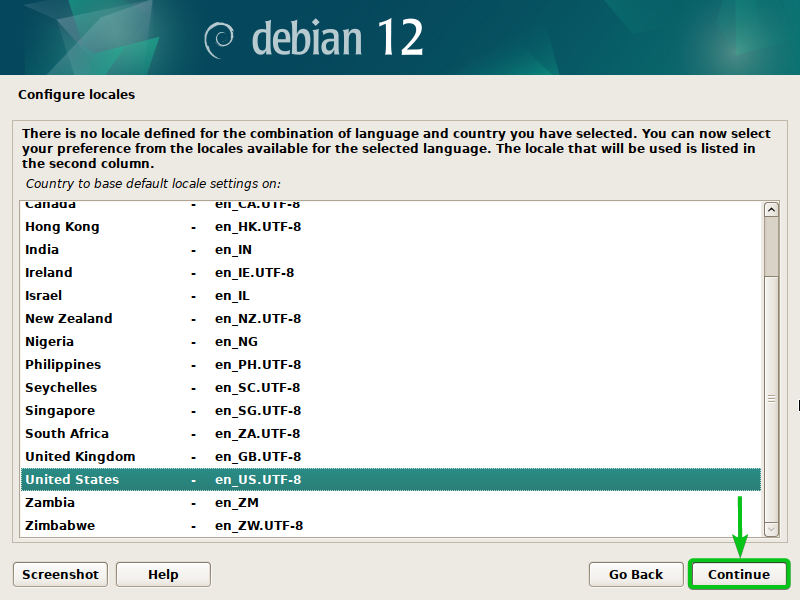
Select your locale and click on “Continue”.
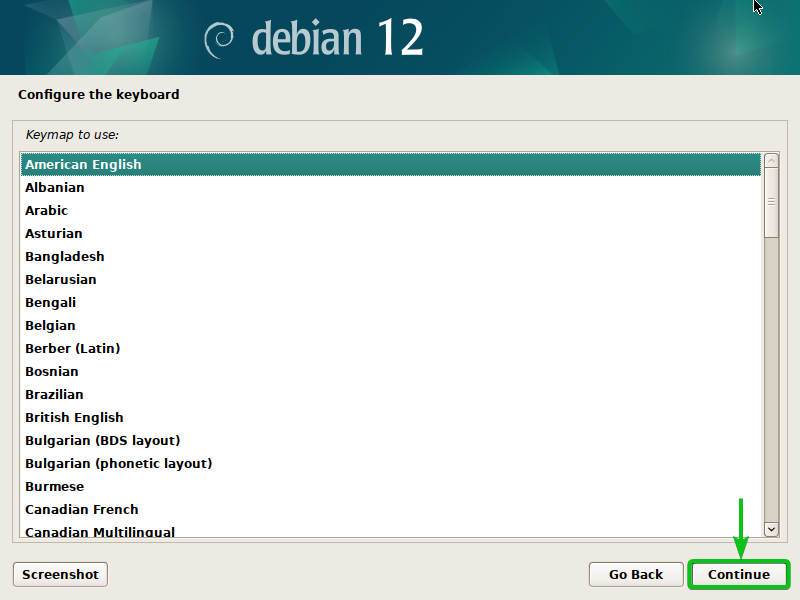
Select your keyboard and click on “Continue”.
The Debian 12 installer is being configured. It takes a few seconds to complete.
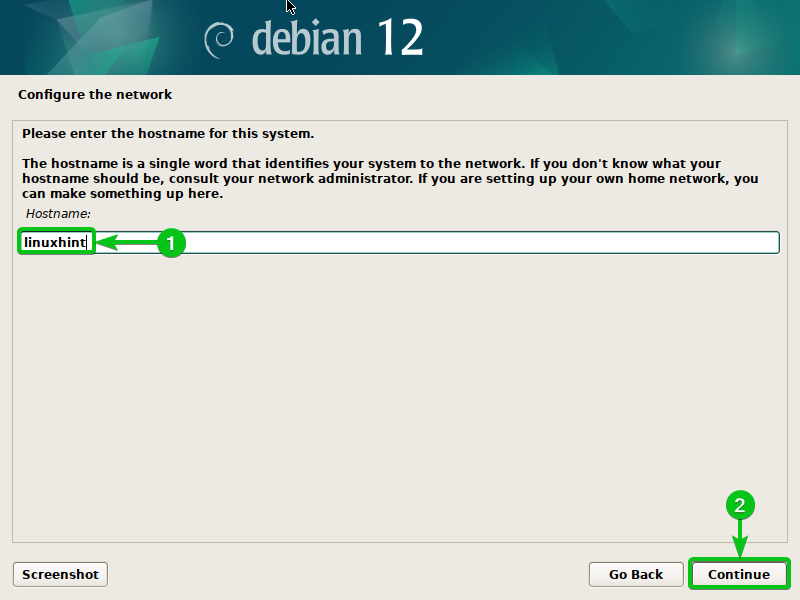
Type in a hostname[1] and click on “Continue”[2].
Type in a domain name (optional)[1] and click on “Continue”[2].

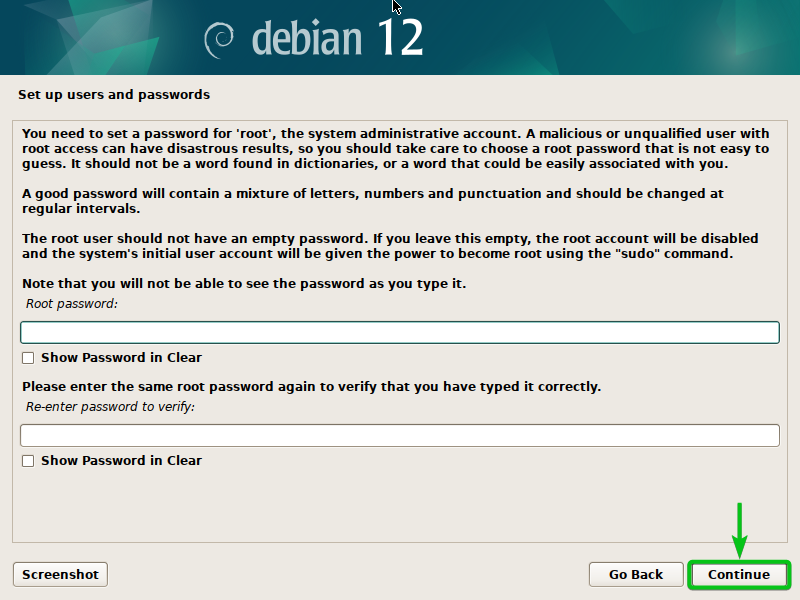
Type in a root password (if you want to enable the root user account) and click on “Continue”. This is optional. You can leave it blank if you want to use sudo to get the superuser privileges.
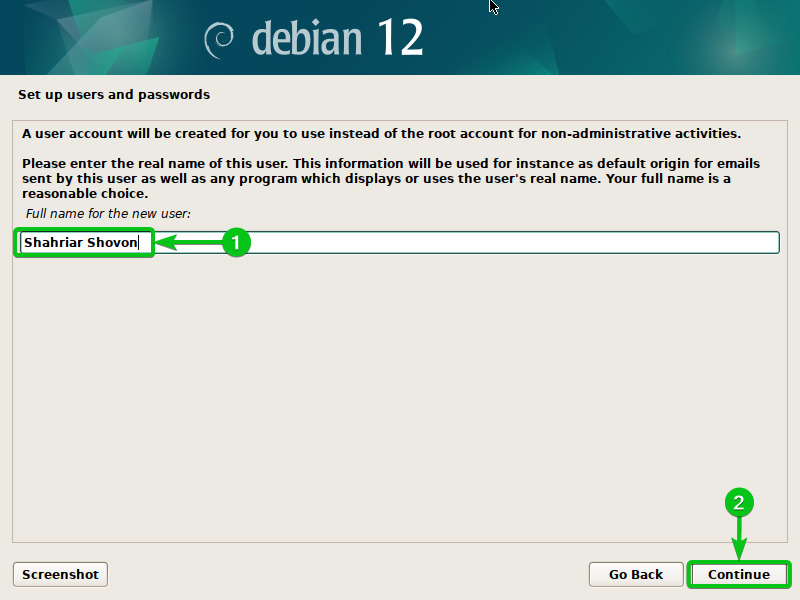
Type in your full name[1] and click on “Continue”[2].
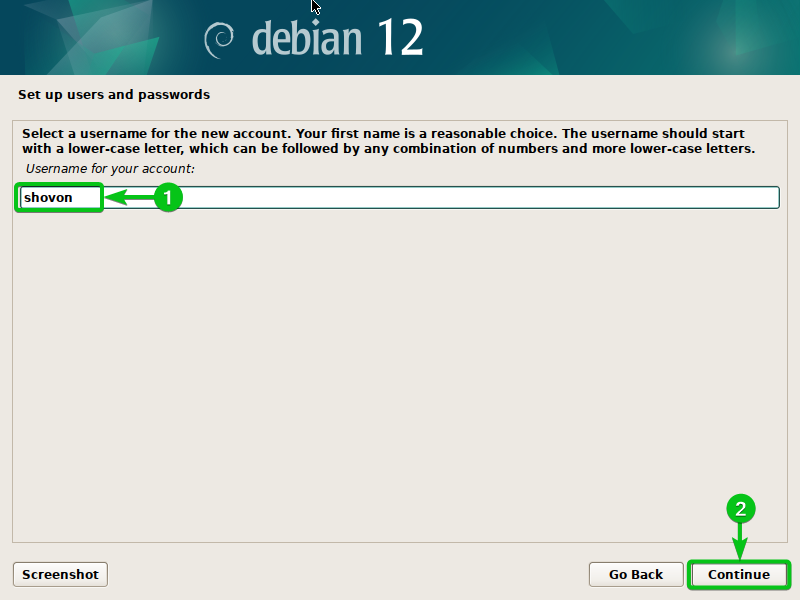
Type in your username[1] and click on “Continue”[2].
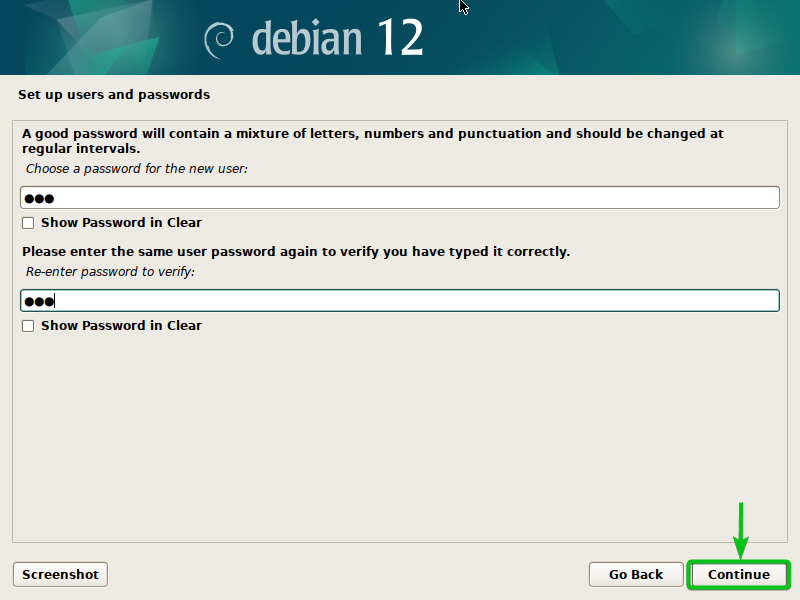
Type in your login password and click on “Continue”.
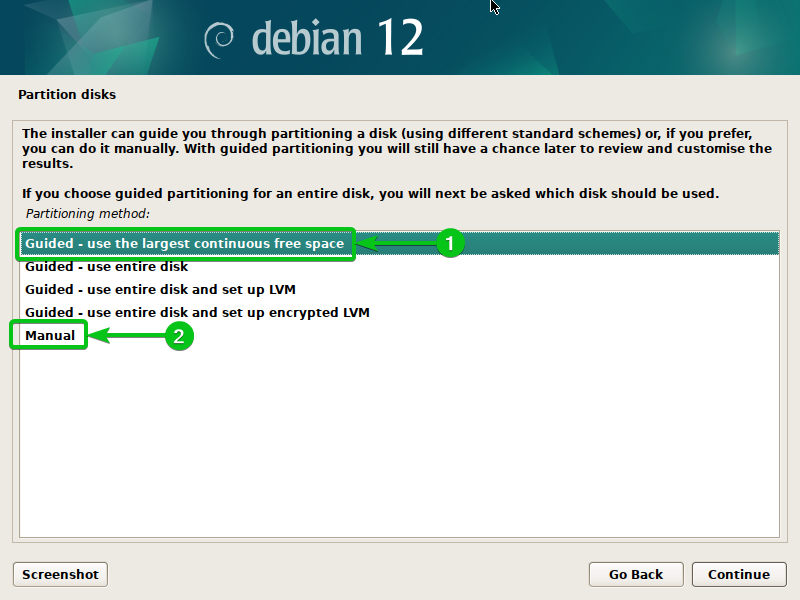
If you want to let the Debian 12 installer partition the free/unallocated disk space automatically and install Debian 12 there, double-click (LMB) on “Guided – use the largest continuous free space”[1].
If you want to manually partition the free/unallocated disk space for the Debian 12 installation, double-click (LMB) on “Manual”[2].
NOTE: In this section, we will show you how to manually partition the free/unallocated disk for installing Debian 12 alongside Windows 10/11. We will show you the basics of disk partitioning for the Debian 12 installation here. If you want to learn more about partitioning the disk for your Debian 12 installation, read the article on How to Partition the Disks While Installing Debian 12 Bookworm.
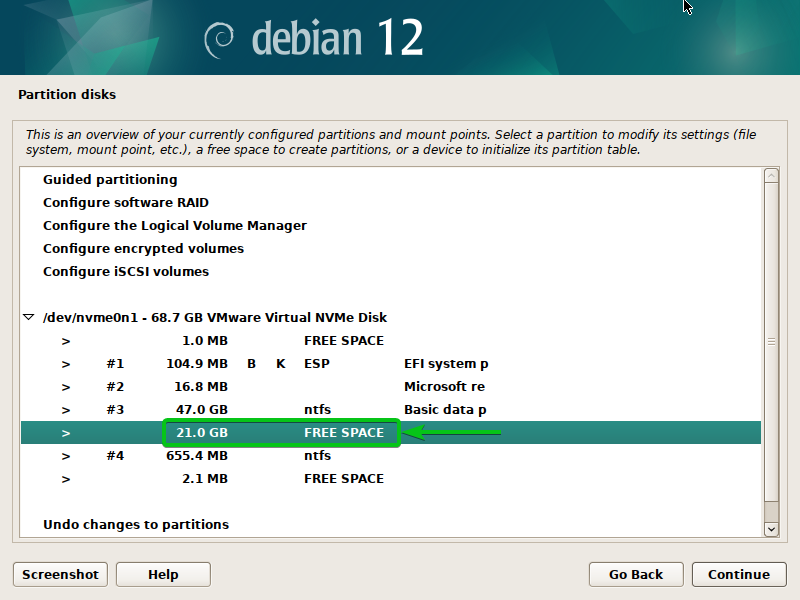
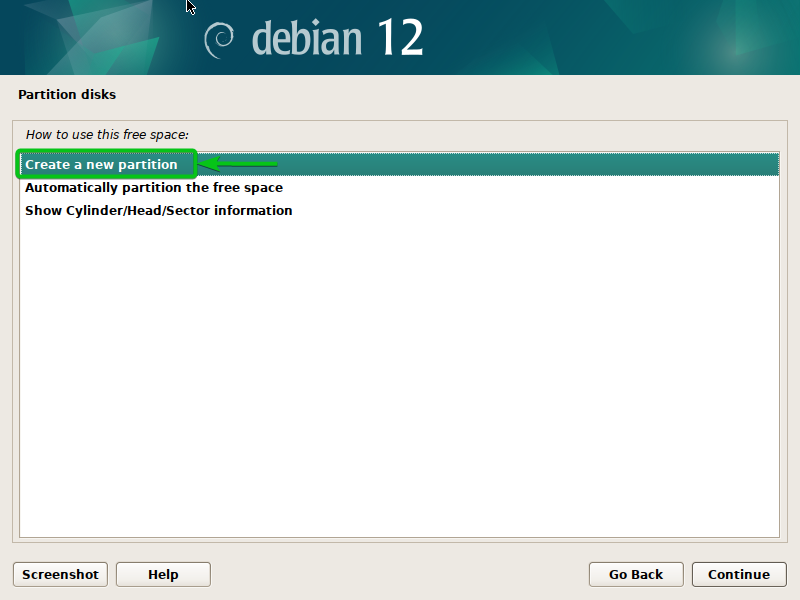
To create a new partition on the free/unallocated disk space, double-click (LMB) on “FREE SPACE” as marked in the following screenshot:
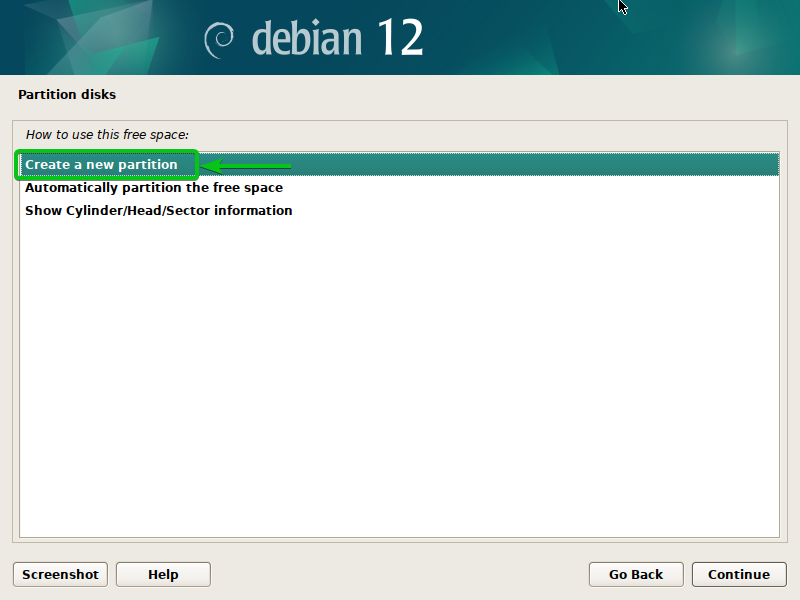
Double-click (LMB) on “Create a new partition”.
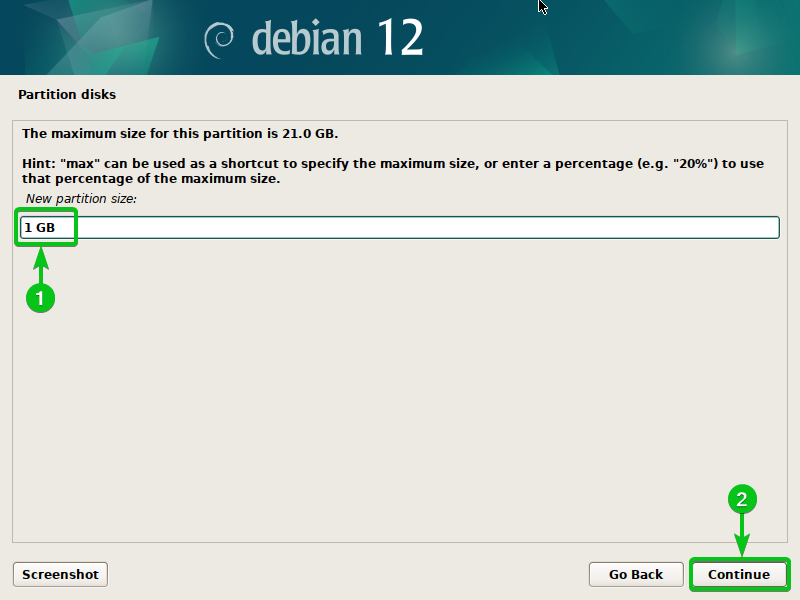
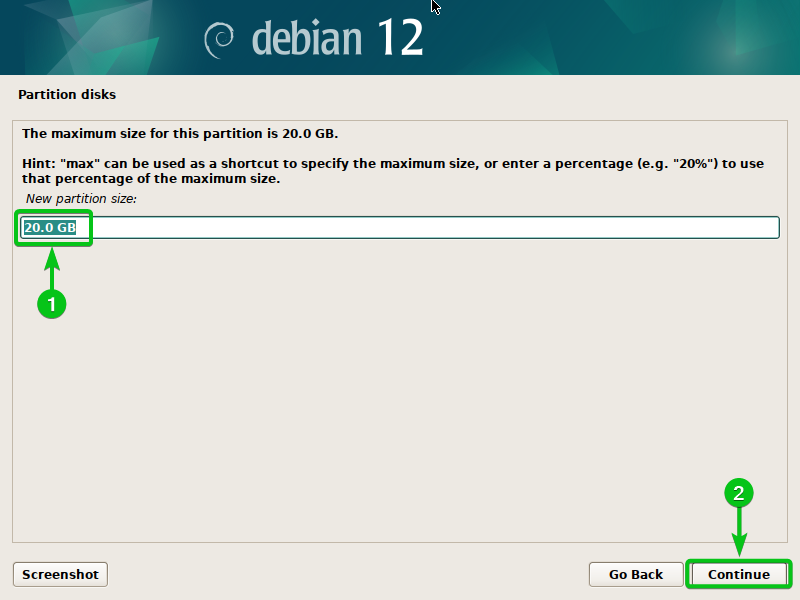
Type in the size of the SWAP disk partition in gigabytes/GB unit[1] and click on “Continue”[2].
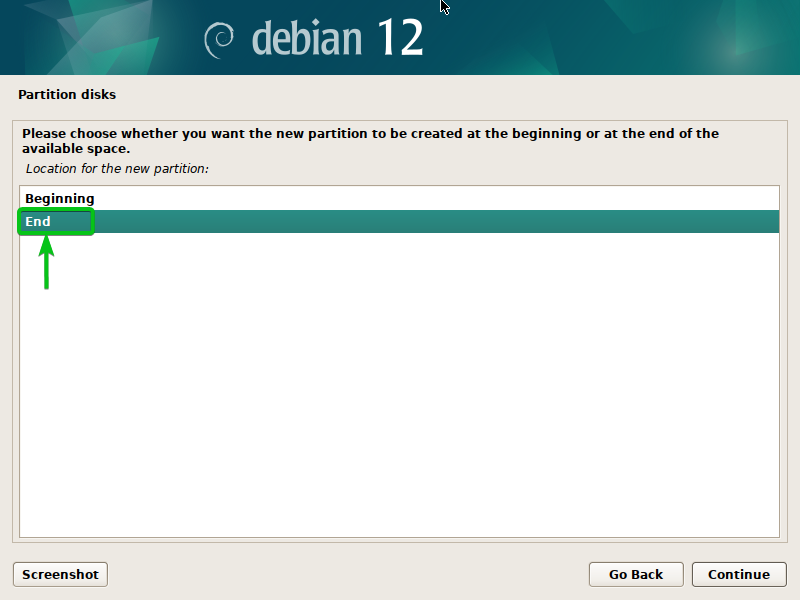
Double-click (LMB) on “End” so that the SWAP disk partition is created at the end of the free/unallocated disk space.
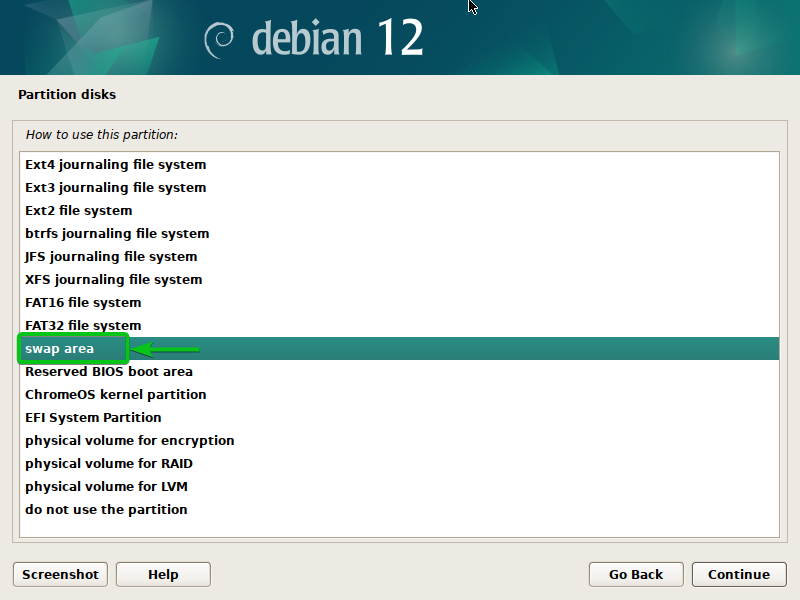
Double-click (LMB) on “Use as”.
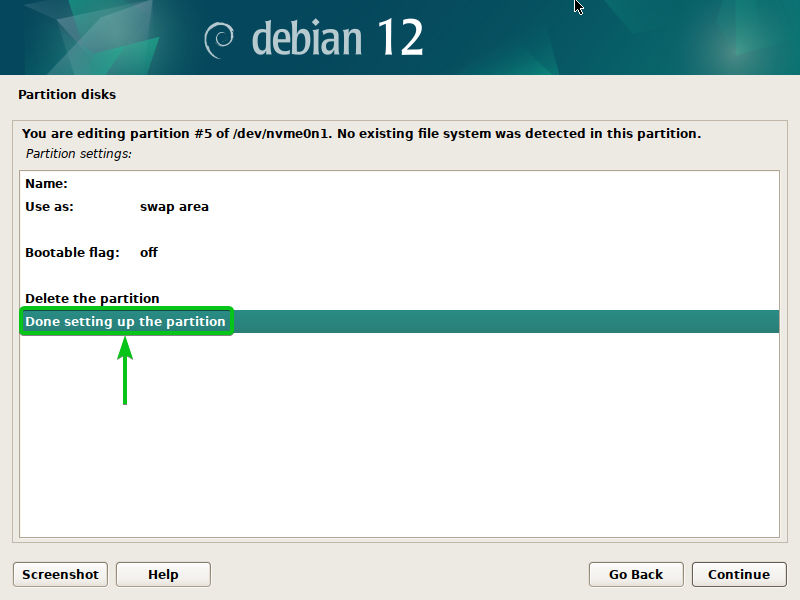
Double-click (LMB) on “swap area”.
Double-click (LMB) on “Done setting up the partition”.
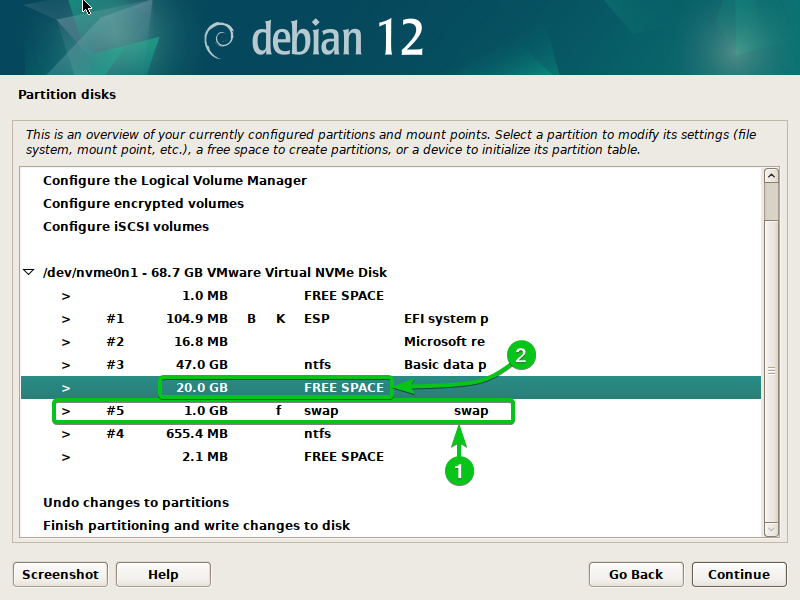
A swap partition should be created[1].
Double-click (LMB) on the FREE SPACE again to create another new partition[2].
Double-click (LMB) on “Create a new partition”.
Type in “max” or leave the default value to use the maximum available disk space for the root partition[1] and click on “Continue”[2].
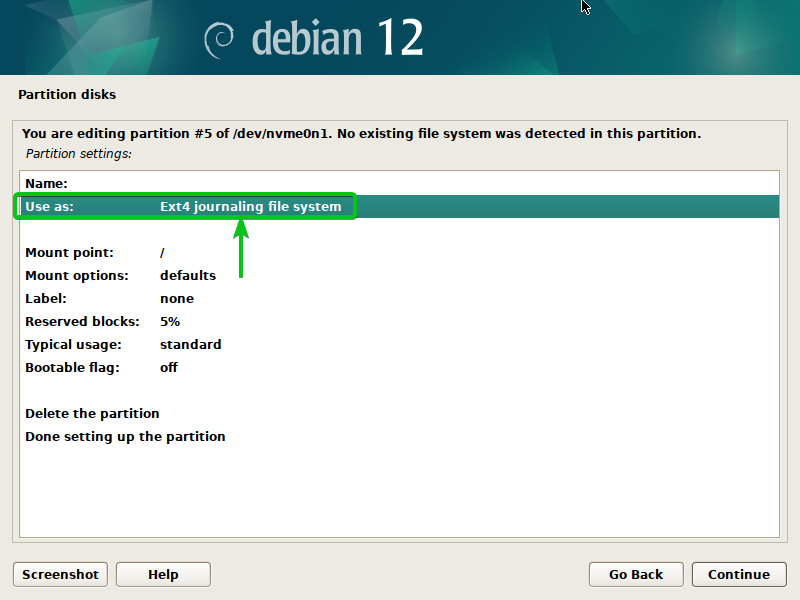
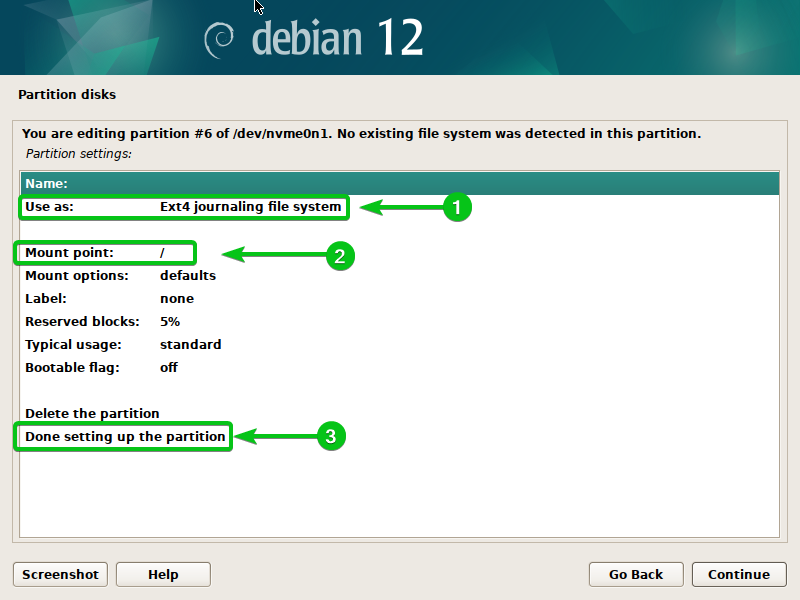
Select “Ext4 journaling file system” from the “Use as” section[1], “/” (root) from the “Mount point” section[2], and double-click (LMB) on “Done setting up the partition”[3].
A root partition should be created[1].
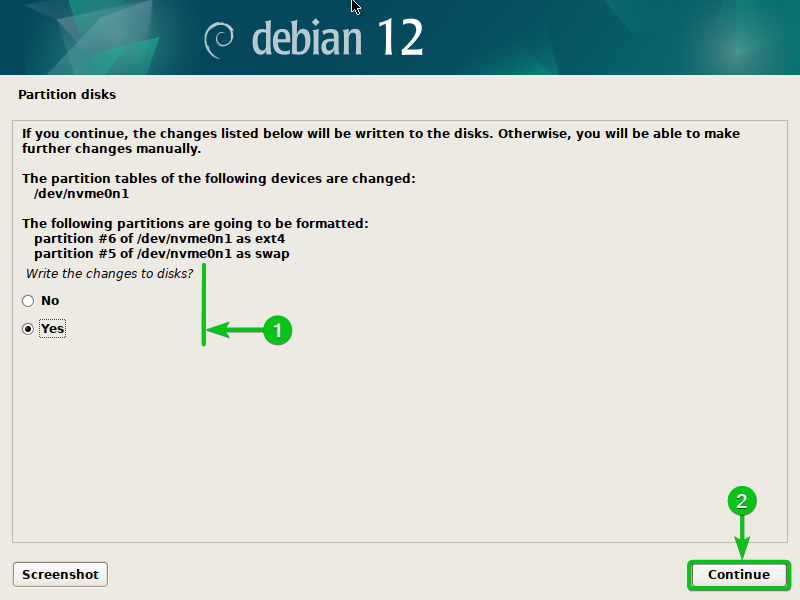
To save the changes to the partition table and install Debian 12 on the newly created partitions, double-click (LMB) on “Finish partitioning and write changes to disk”[2].

Select “Yes”[1] and click on “Continue”[2].
The Debian installer should start installing the Debian 12 base system files to the disk. It takes a while to complete.

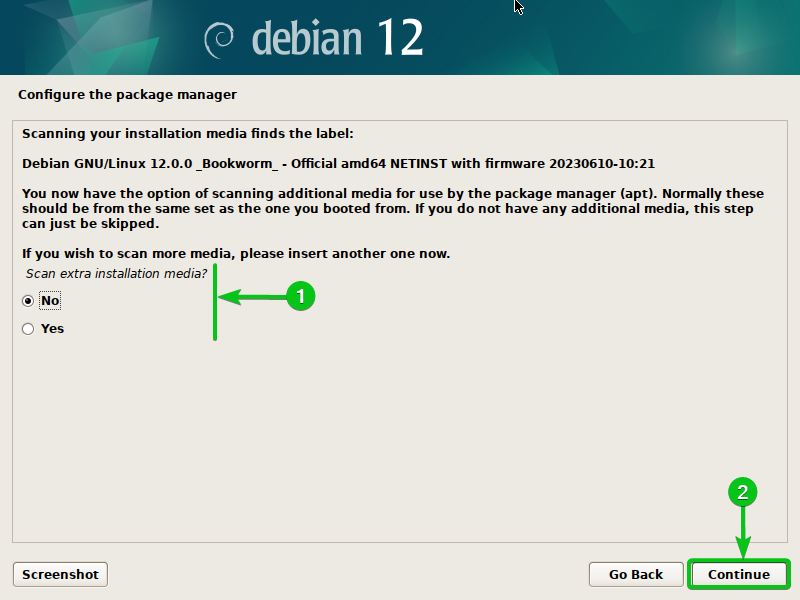
Select “No”[1] and click on “Continue”[2].
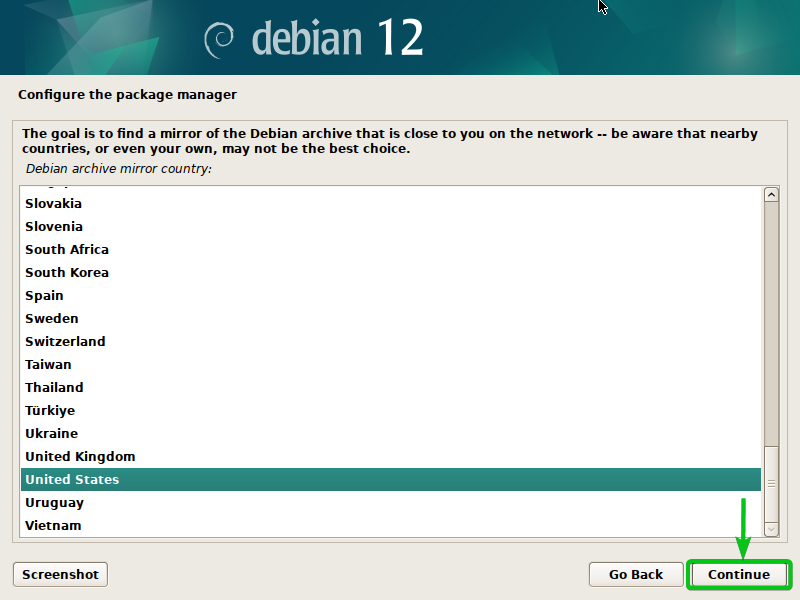
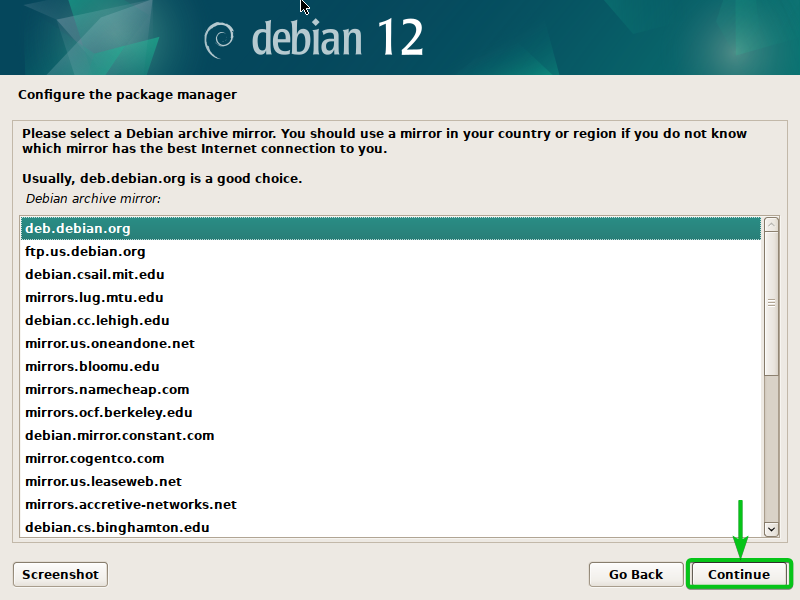
Select your country to find the best package mirror for Debian (so that you get faster downloads of the Debian packages) and “Continue”.
Select “deb.debian.org” (or any Debian mirror that you like) and click on “Continue”.
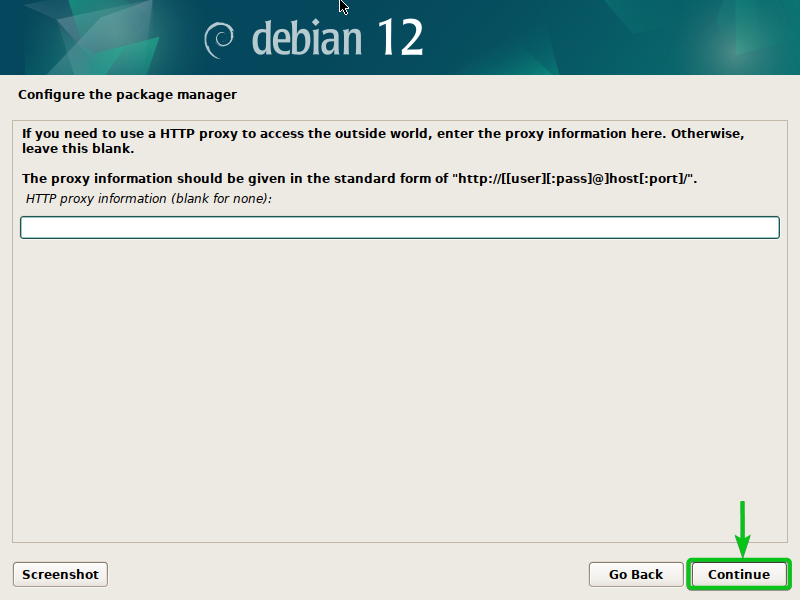
Click on “Continue”.
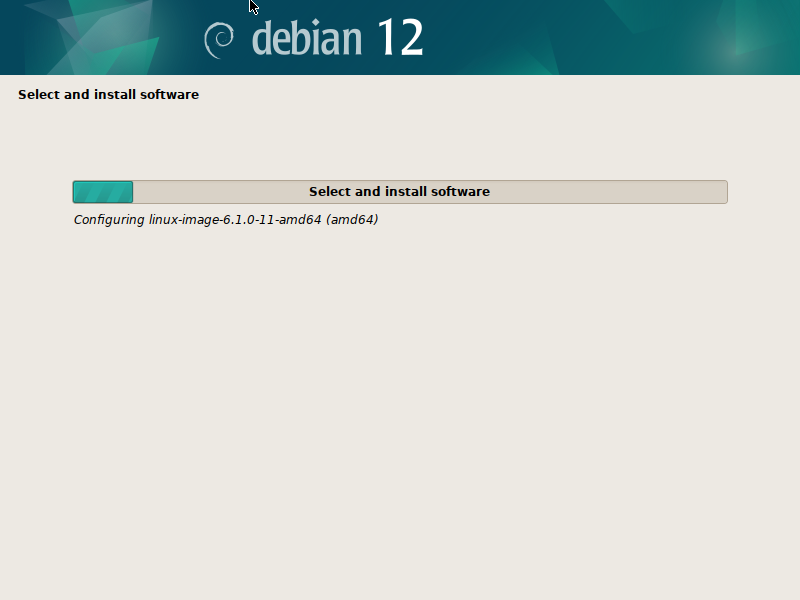
The Debian 12 installation should continue.
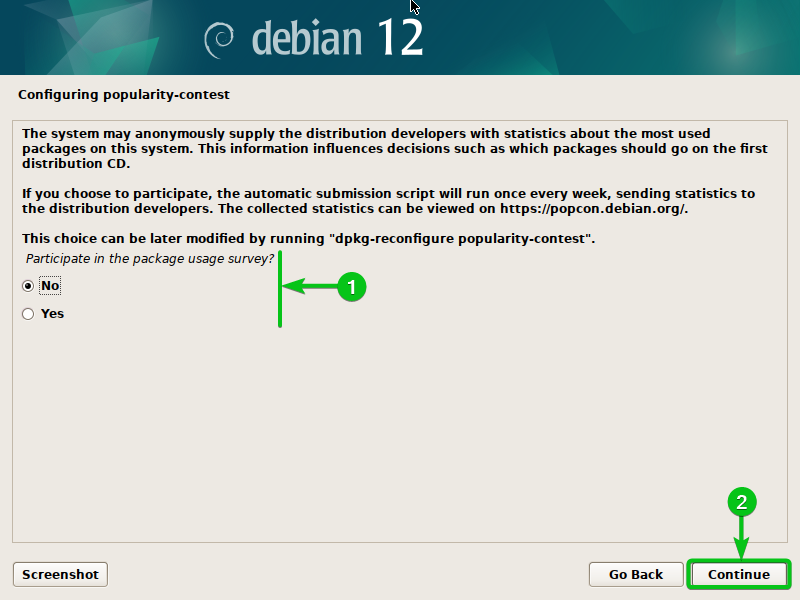
Select “No”[1] and click on “Continue”[2].
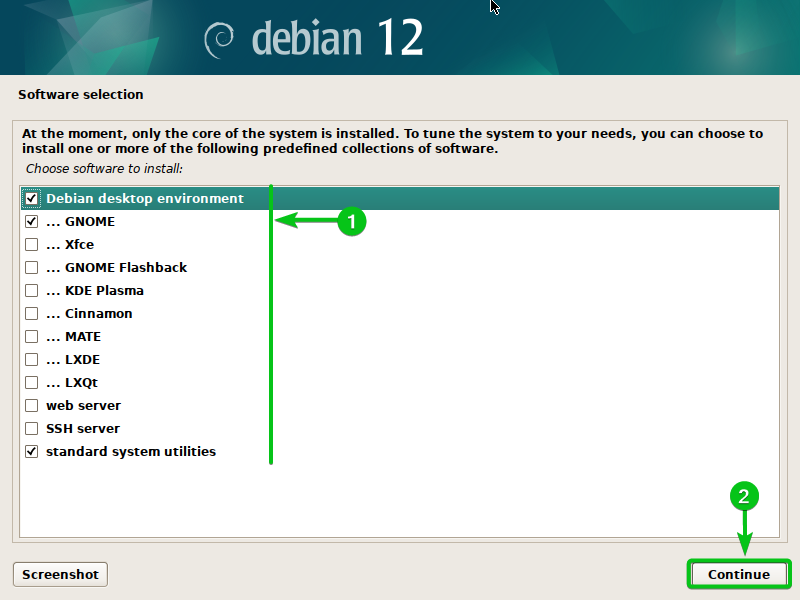
By default, Debian 12 installs the GNOME desktop environment. You can use Xfce, KDE Plasma, Cinnamon, MATE, LXDE, and LXQt desktop environments on your Debian 12 desktop operating system as well. To use a different desktop environment, uncheck “GNOME” from the “Debian desktop environment” section, and check the desktop environment that you want to use[1].
Once you’re done, click on “Continue”[2].
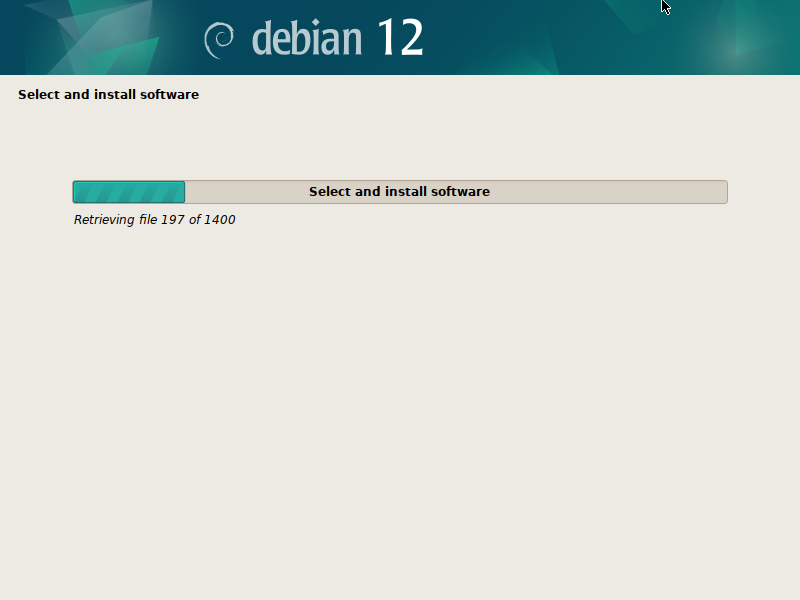
The Debian 12 installation should continue. It takes a while to complete.
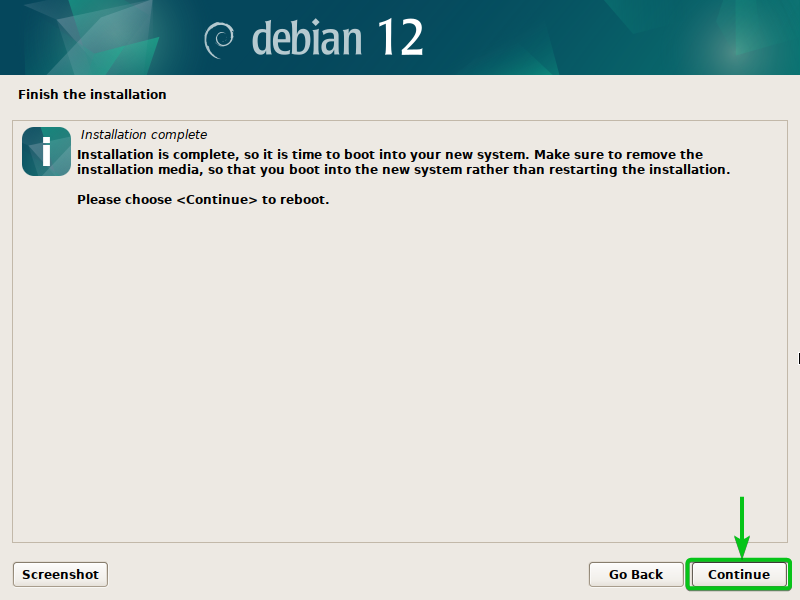
At this point, the Debian 12 desktop operating system should be installed on your computer.
Click on “Continue” to reboot into your newly installed Debian 12 system.
Booting Debian 12 for the First Time
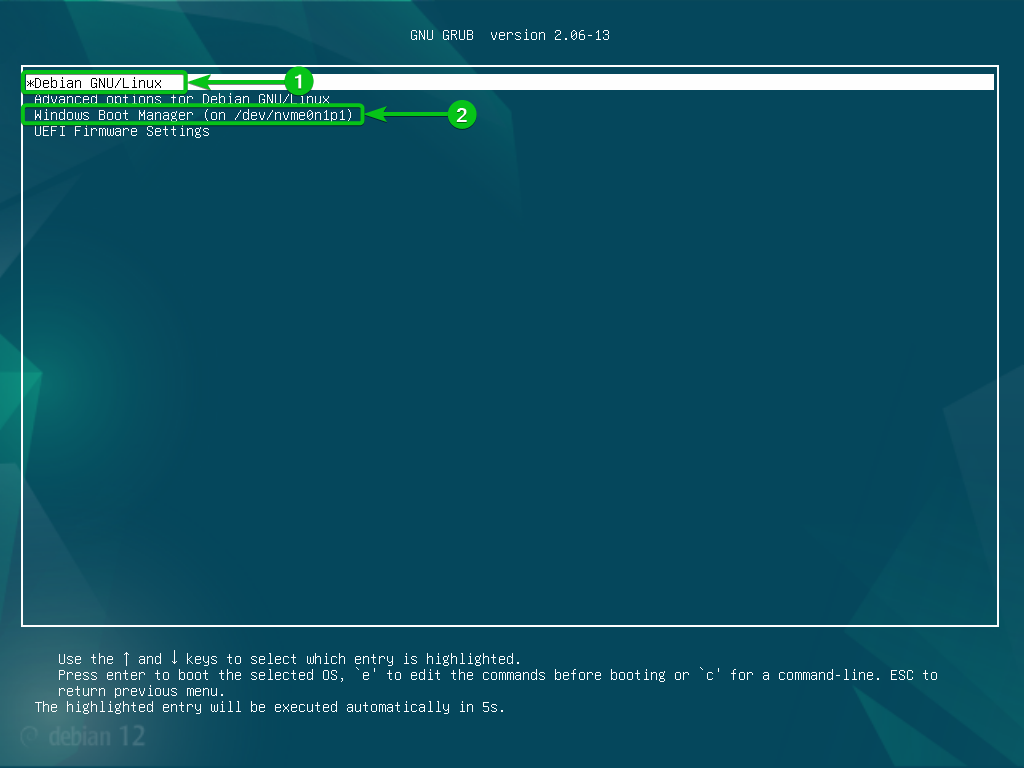
Once your computer boots, you will see the Debian 12 GRUB boot menu.
You will find the option to boot into your Debian 12 operating system[1] as well as your Windows 10/11 operating system[2].
To boot into the newly installed Debian 12 operating system, select “Debian GNU/Linux” and press <Enter>.
You will see the Debian 12 login screen shortly. Log in to your Debian 12 system using the login password that you set during the installation.
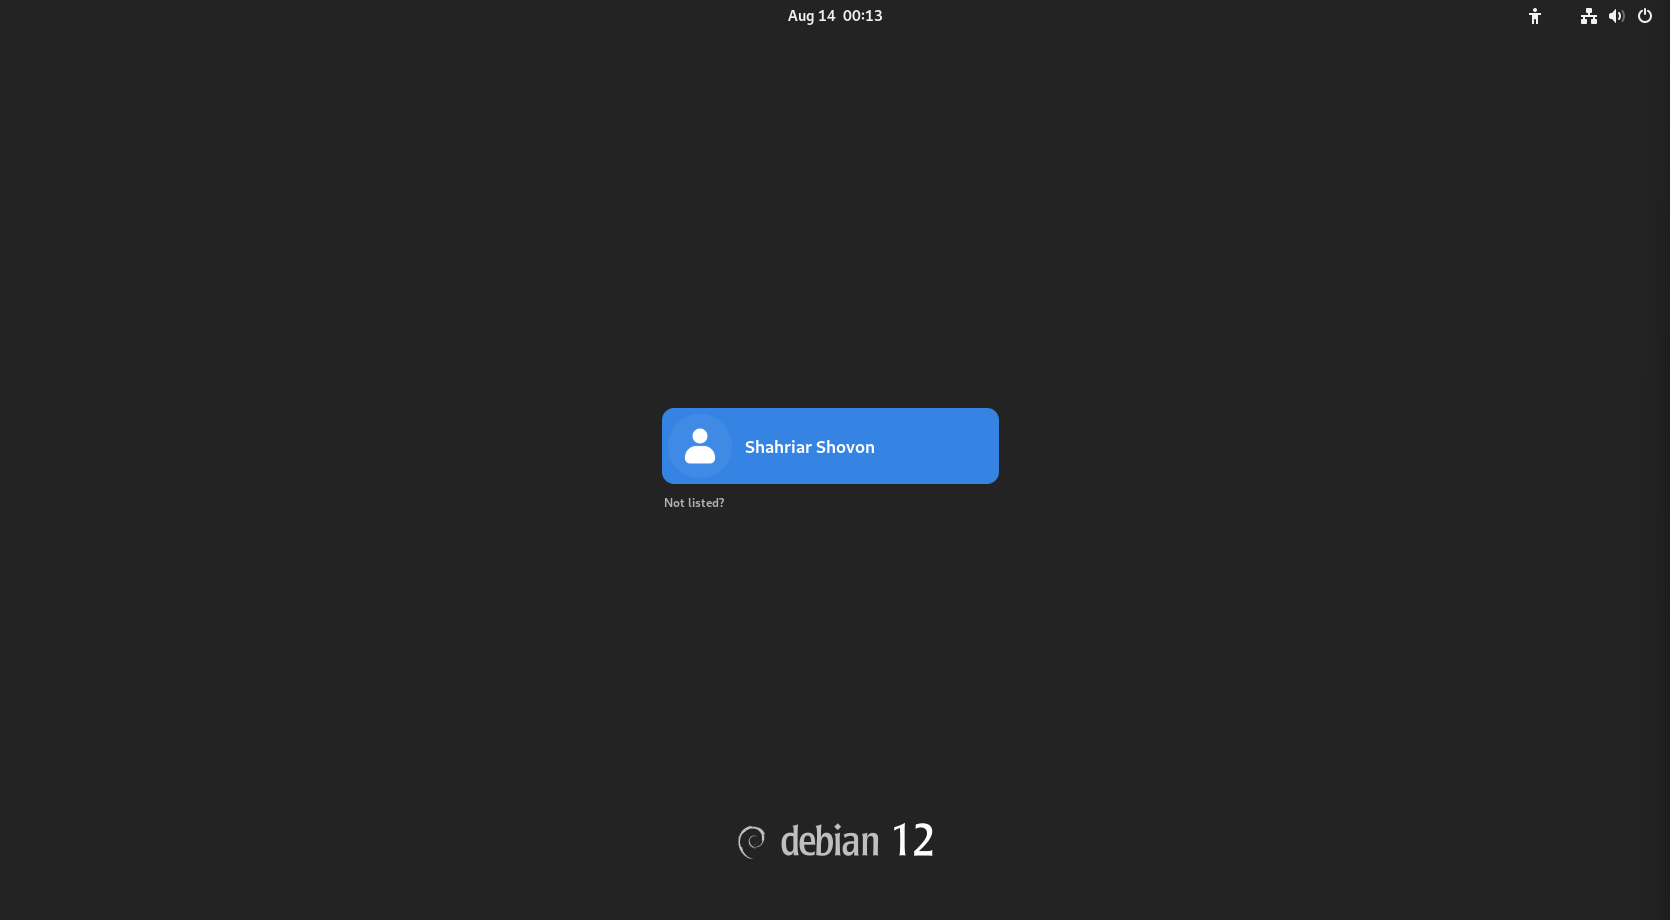
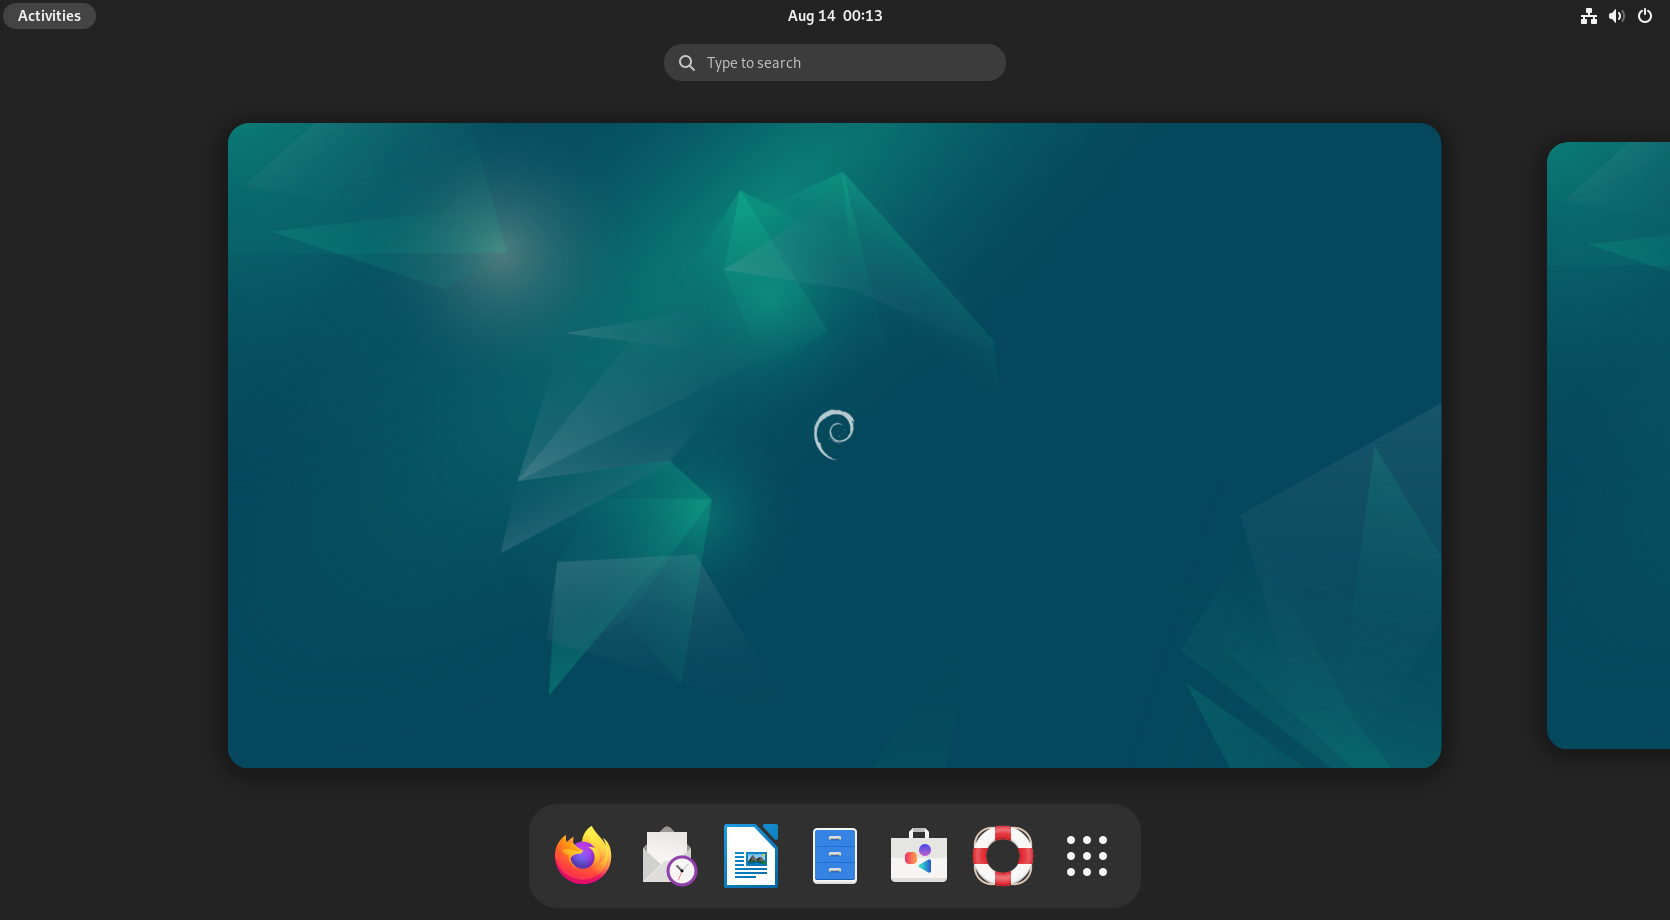
You should be logged into your Debian 12 desktop operating system.
Booting Windows 10/11 from the Debian 12 GRUB Boot Menu
To boot Windows 10/11 from the Debian 12 GRUB boot menu, select “Windows Boot Manager” and press <Enter>.
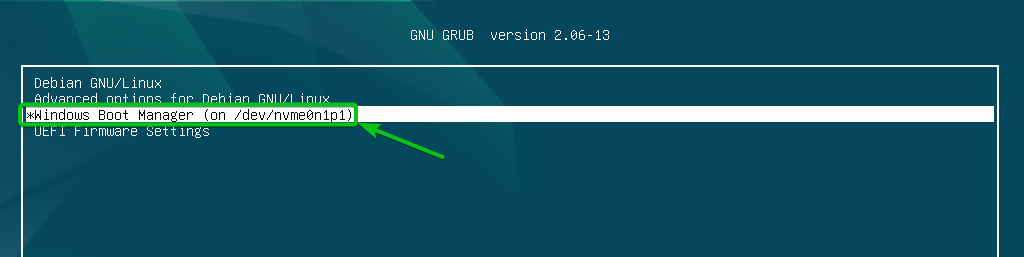
Your computer should boot the Windows 10/11 operating system. So, dual-booting Debian 12 alongside Windows 10/11 works perfectly.
Conclusion
We showed you how to install the Debian 12 Desktop operating system on your computer alongside the Windows 10/11 operating system so that you can use the Debian 12 Desktop operating system or Windows 10/11 operating system whenever you need.